

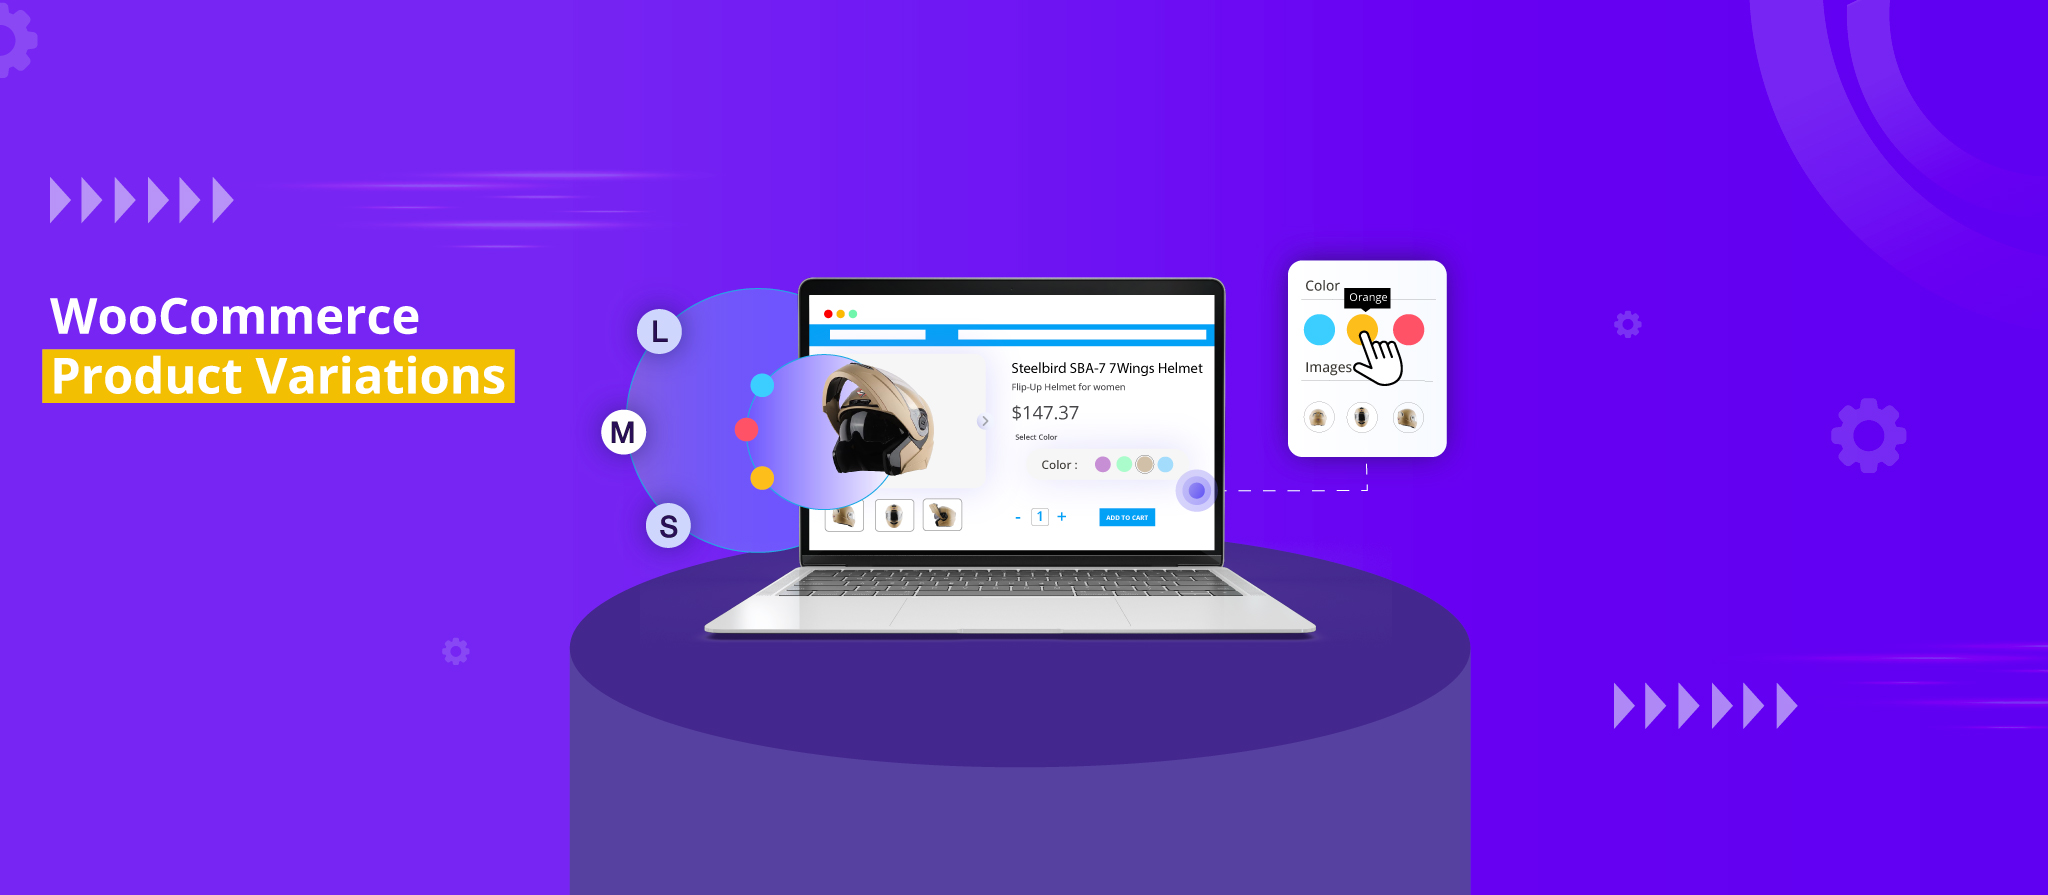
Are you a WooCommerce store owner struggling to come to terms with how to set up variations for your products? Well, product variation is quite deceiving. It might look very simple to get started at first glance to any new user, but as you delve deeper, it is a large tricky maze. In simple terms, WooCommerce Product Variations allow you to offer multiple options for a particular product, enabling customers to choose the specific version that suits their preferences.
Like in a physical store, where products come in different forms, shapes, sizes, and types, an online store must effectively showcase its product variations. Whether it’s offering different sizes, colors, materials, or styles, providing these options can enhance the shopping experience and cater to a broader range of customer preferences.
However, coming to terms with how to set up these variations in your WooCommerce store can be a daunting task. It requires a clear understanding of the process and a strategic approach to effectively present your variations.
Well, I will help you navigate the intricate world of WooCommerce Product Variations. Together, we’ll unravel the complexities and tools to set up variations for your products.
Variable Product vs. Customisable Products
Let’s clear something up first, variable products and customizable products are not the same; the two are entirely different sets of products. I have seen a lot of store owners who actually confuse each other and end up creating a choice on their product page.
Variable products are products that can be sold as a single product with different variations. So most of the time, each variation might have its price, stock, or image, or at times, you can manage them entirely as a different version of the same product. So let’s say a dress with the same design but in multiple colors and sizes is a variable product.
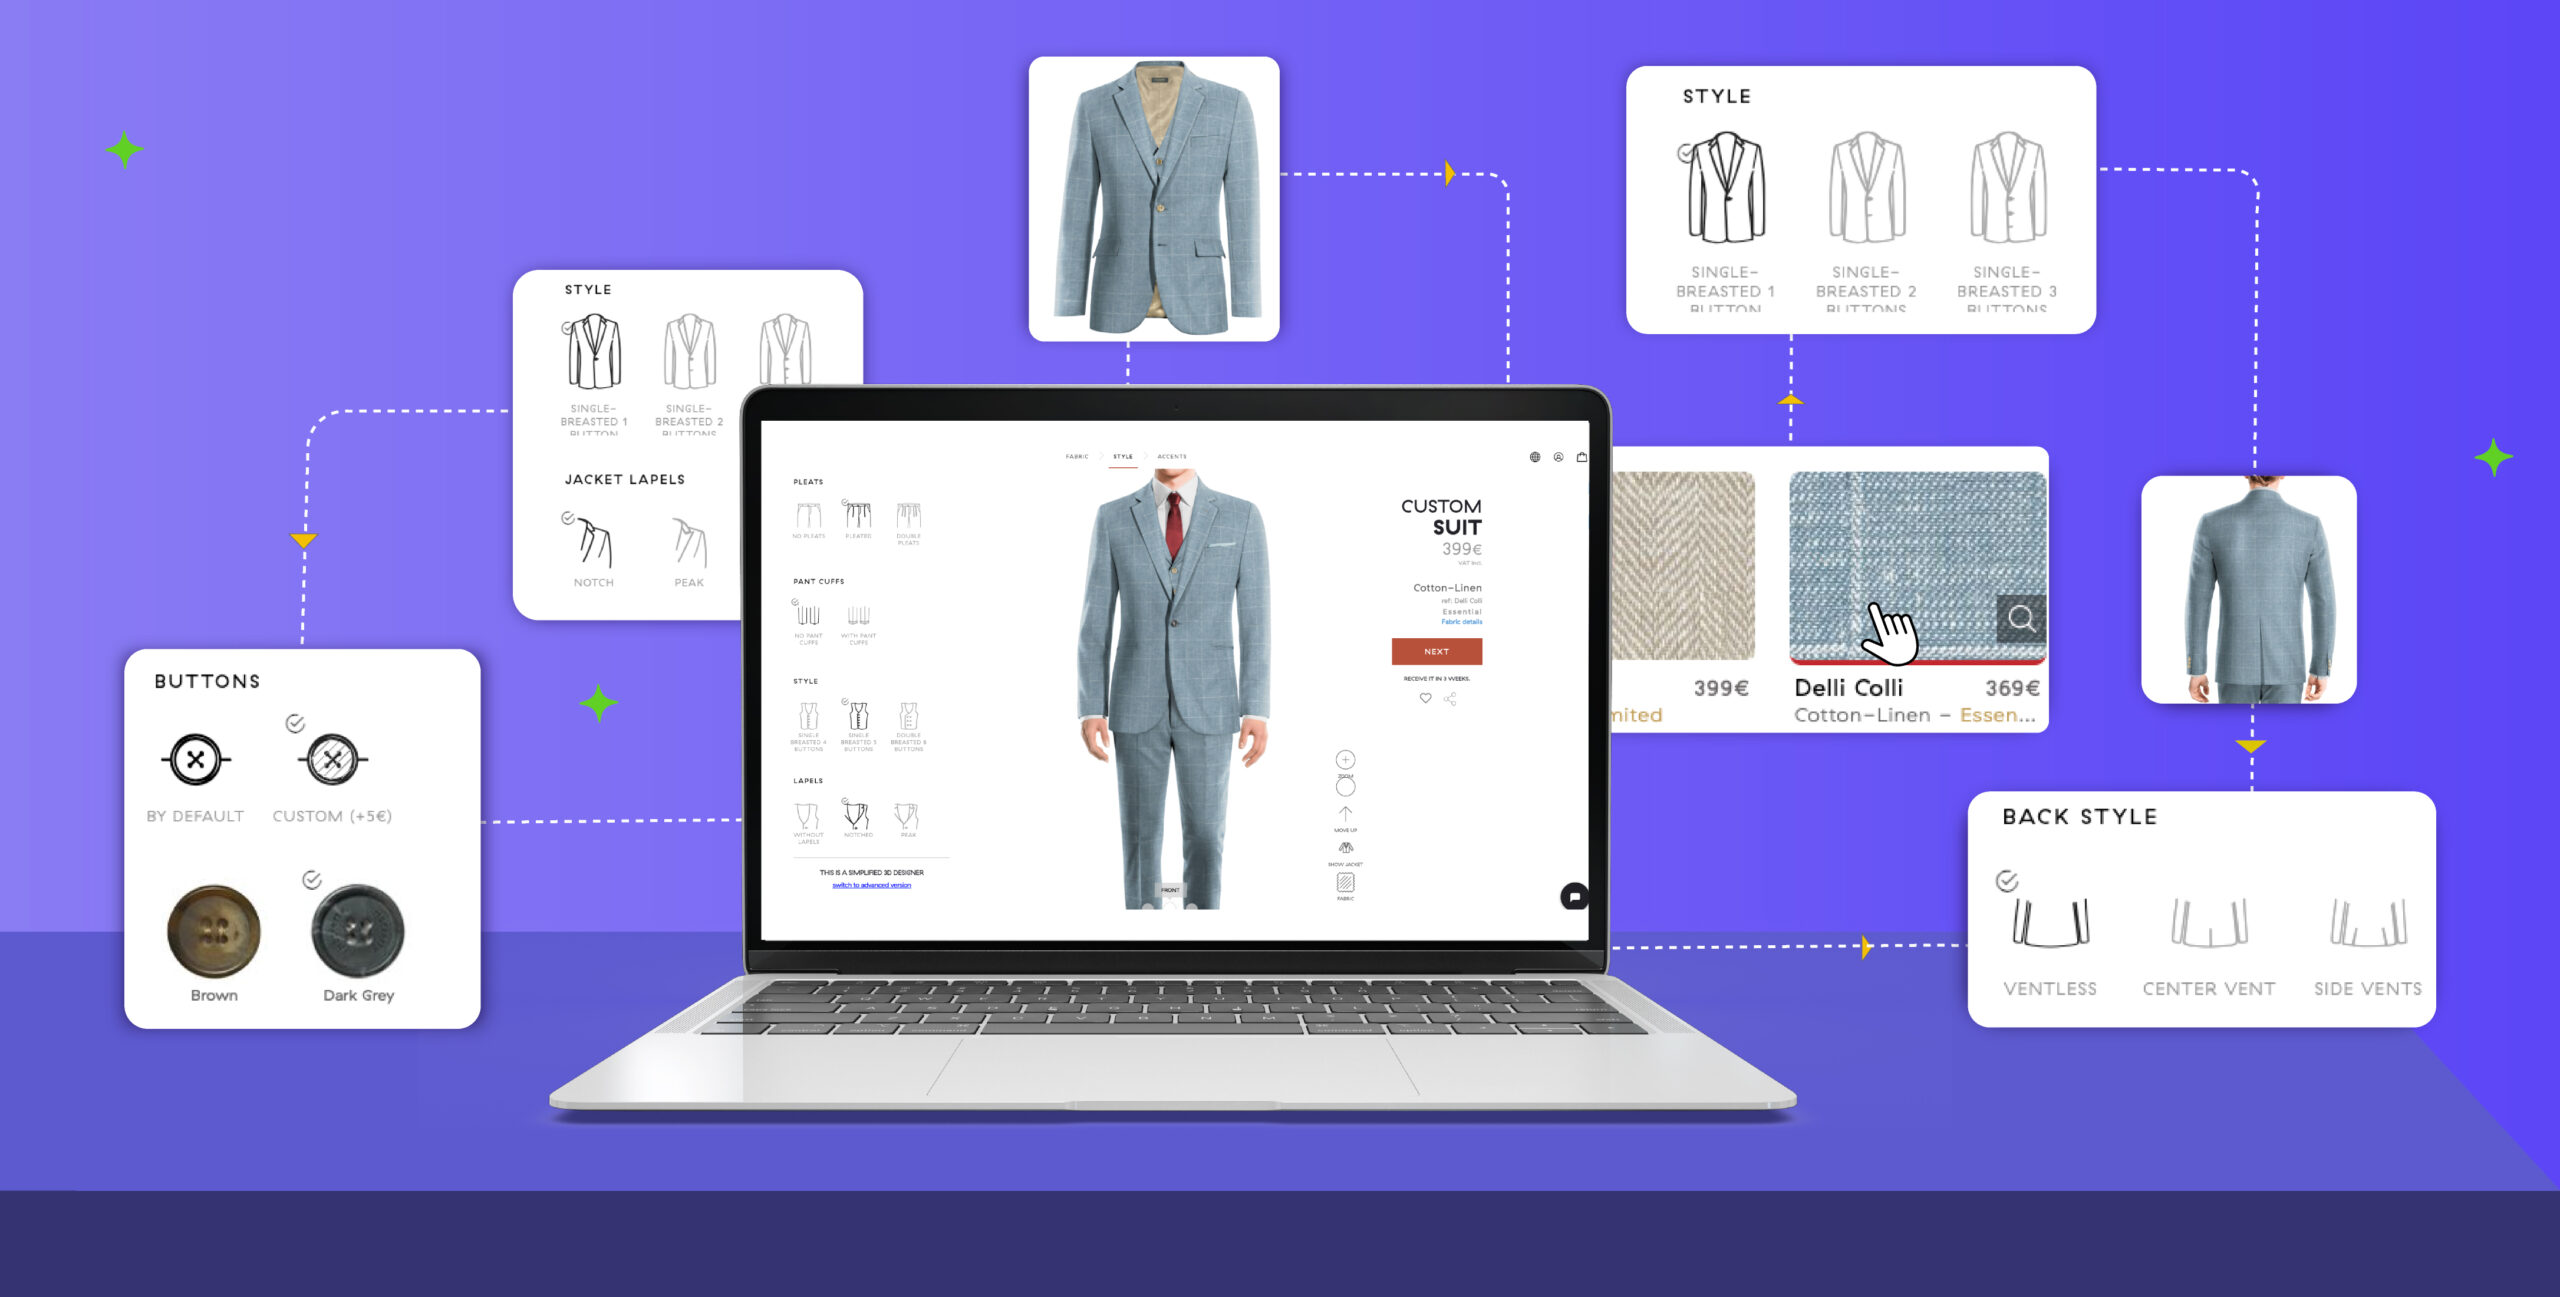
The best way to describe customizable products is unique, exclusive, and built to order. Well, these products have a large number of variants based on their color, material, design, or size. They can even be personalized based on the customer’s needs, as you can sometimes print logos, quotes, engrave names or symbols, or embroider if that’s clothing. For example, if you have a wedding cake business that operates online and makes custom cakes, you can set a series of attributes like frosting, cake flavors, cake topper, garnish, etc., inside your WooCommerce Store. Now this can be a quick solution for anyone who is trying to order a custom cake.
Now that’s established, I hope you got a clear understanding of what is a customizable product and a variable product.
How Do Variable Products Work?
To any eCommerce store owner, including product variation inside their store is quite beneficial to the store owner. Well, for starters, you can get rid of the hassle of separate listings for each product based on every attribute. Now this is quite time-consuming and can easily result in a very cluttered product page. Next, by setting this feature, you can also level up your business. This is quite relevant when you compare it with other stores that sell similar products. There is an order if you set a product variation, which is quite helpful while navigating through the product page. On the other hand, other stores tend to sell the same kinds of products on different product pages, which is going to create an utterly confusing mess for any consumer.
By keeping a more clean-cut and easy-to-navigate store, you can automatically reflect brand loyalty among customers. They will realize that your e-store is well-stocked, maintained, and diverse. As a result, you could expect return customers to your store. To provide your consumers with choices to select from multiple product variations, you will need to set product variation to your product page. In the context of WooCommerce, these distinct purchasing options which is usually referred to as Attributes.
Attributes
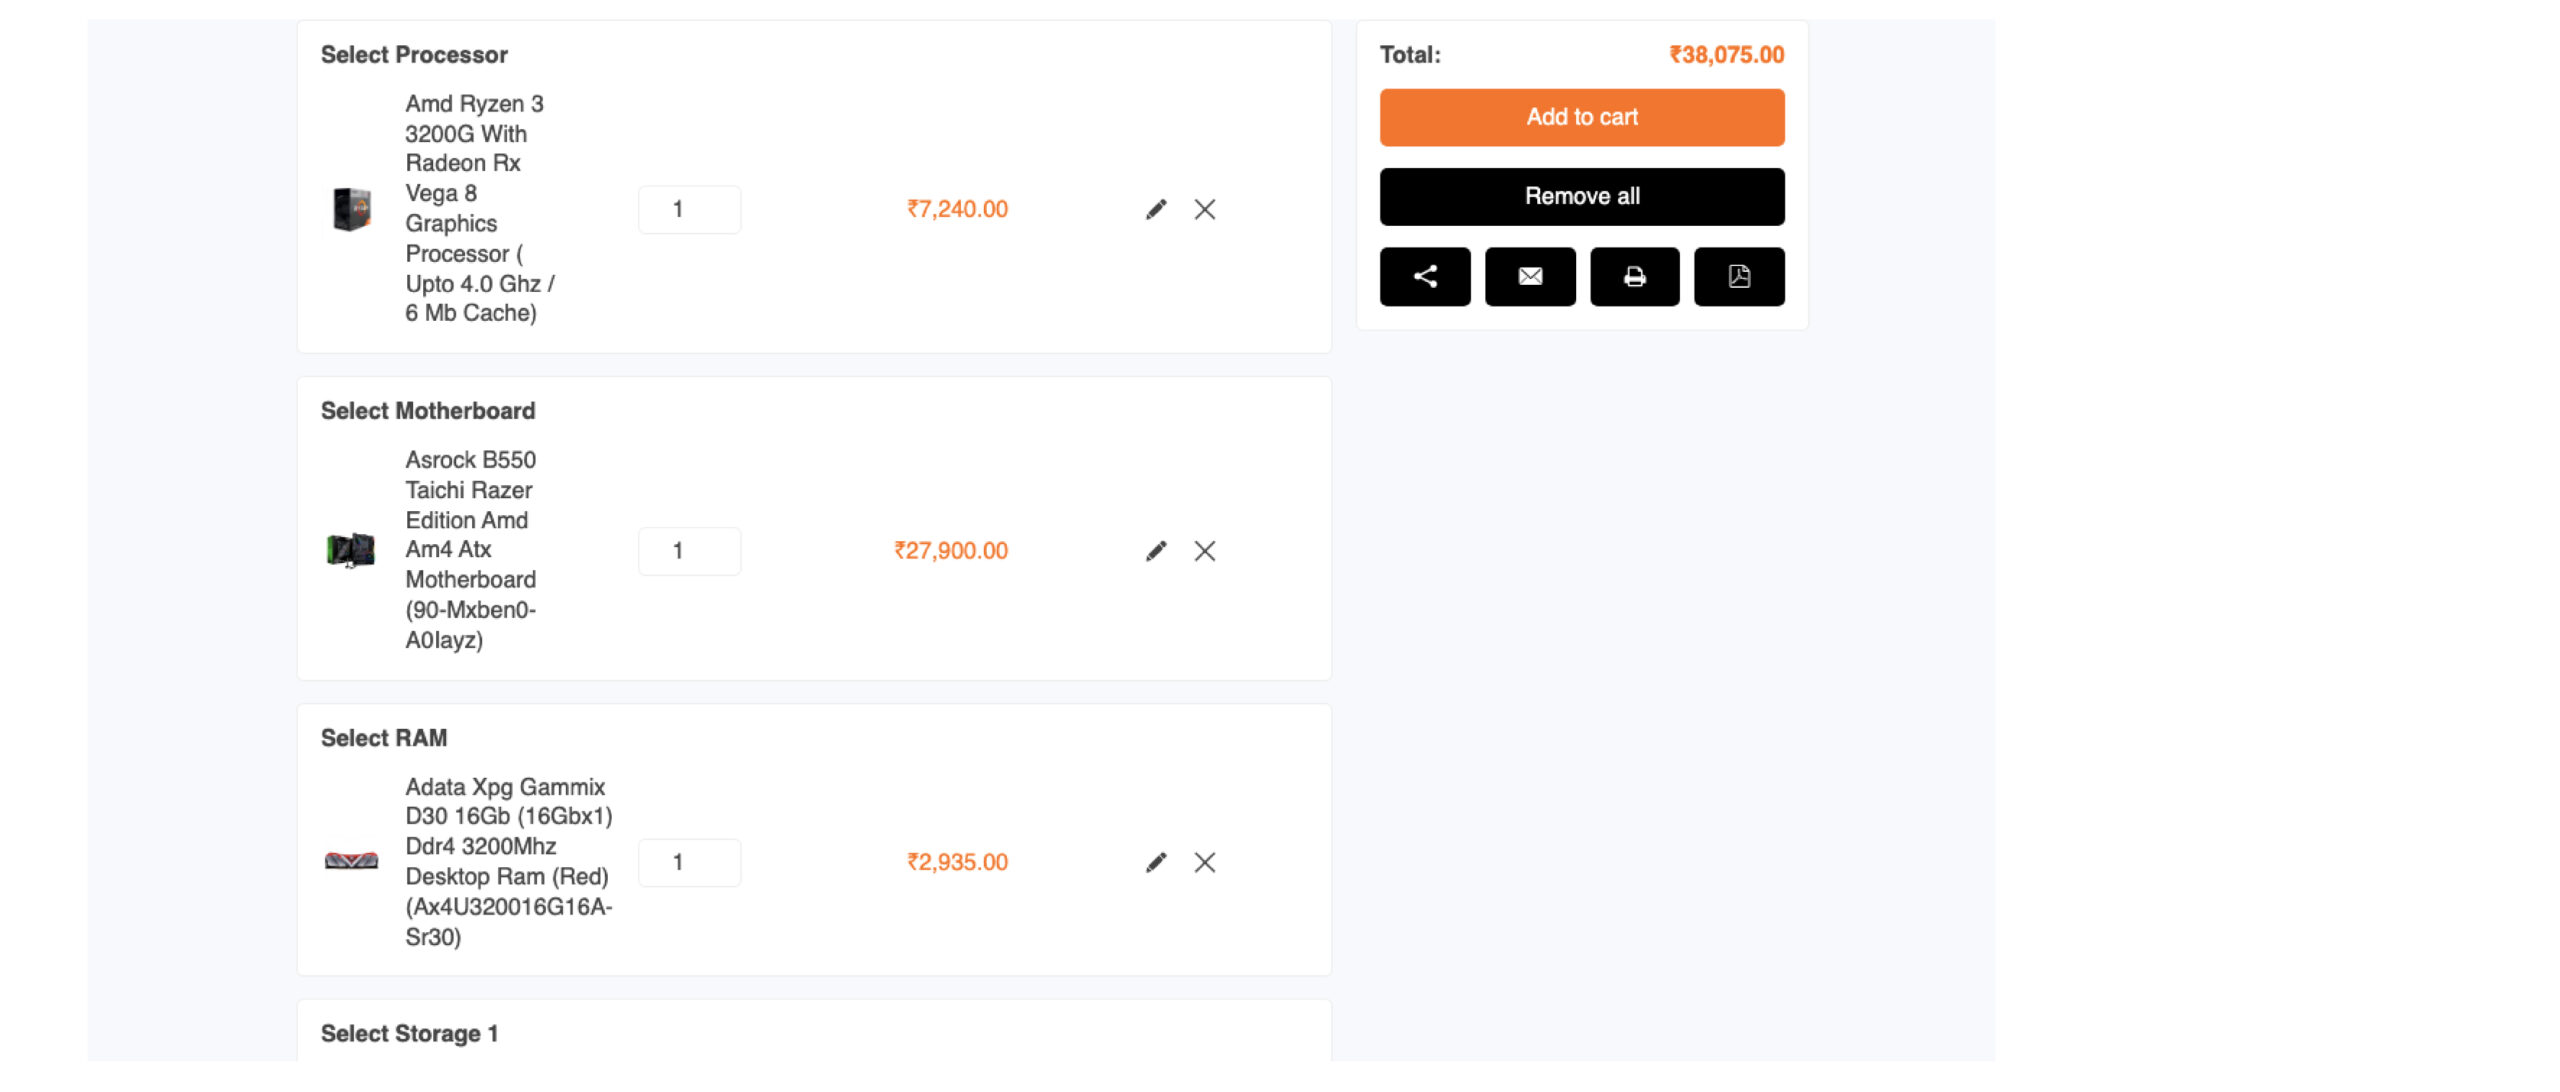
You can say attributes are simple data that are used to describe a product’s finest details. So, for example, if you are selling a watch, an attribute for it could be its colors or sizing characteristics. “Now, if you have a store that sells components for PC building, then you need an extensive product variation set. The catalog should include the following items: Processor, Motherboard, RAM, Storage 1, Storage 2, Cabinet, Cabinet Fan, Cooler, Graphics Card, Power Supply Unit, Monitor, Keyboard, Mouse, and Accessories. This catalog serves as a better way to introduce all the details through product variations.”
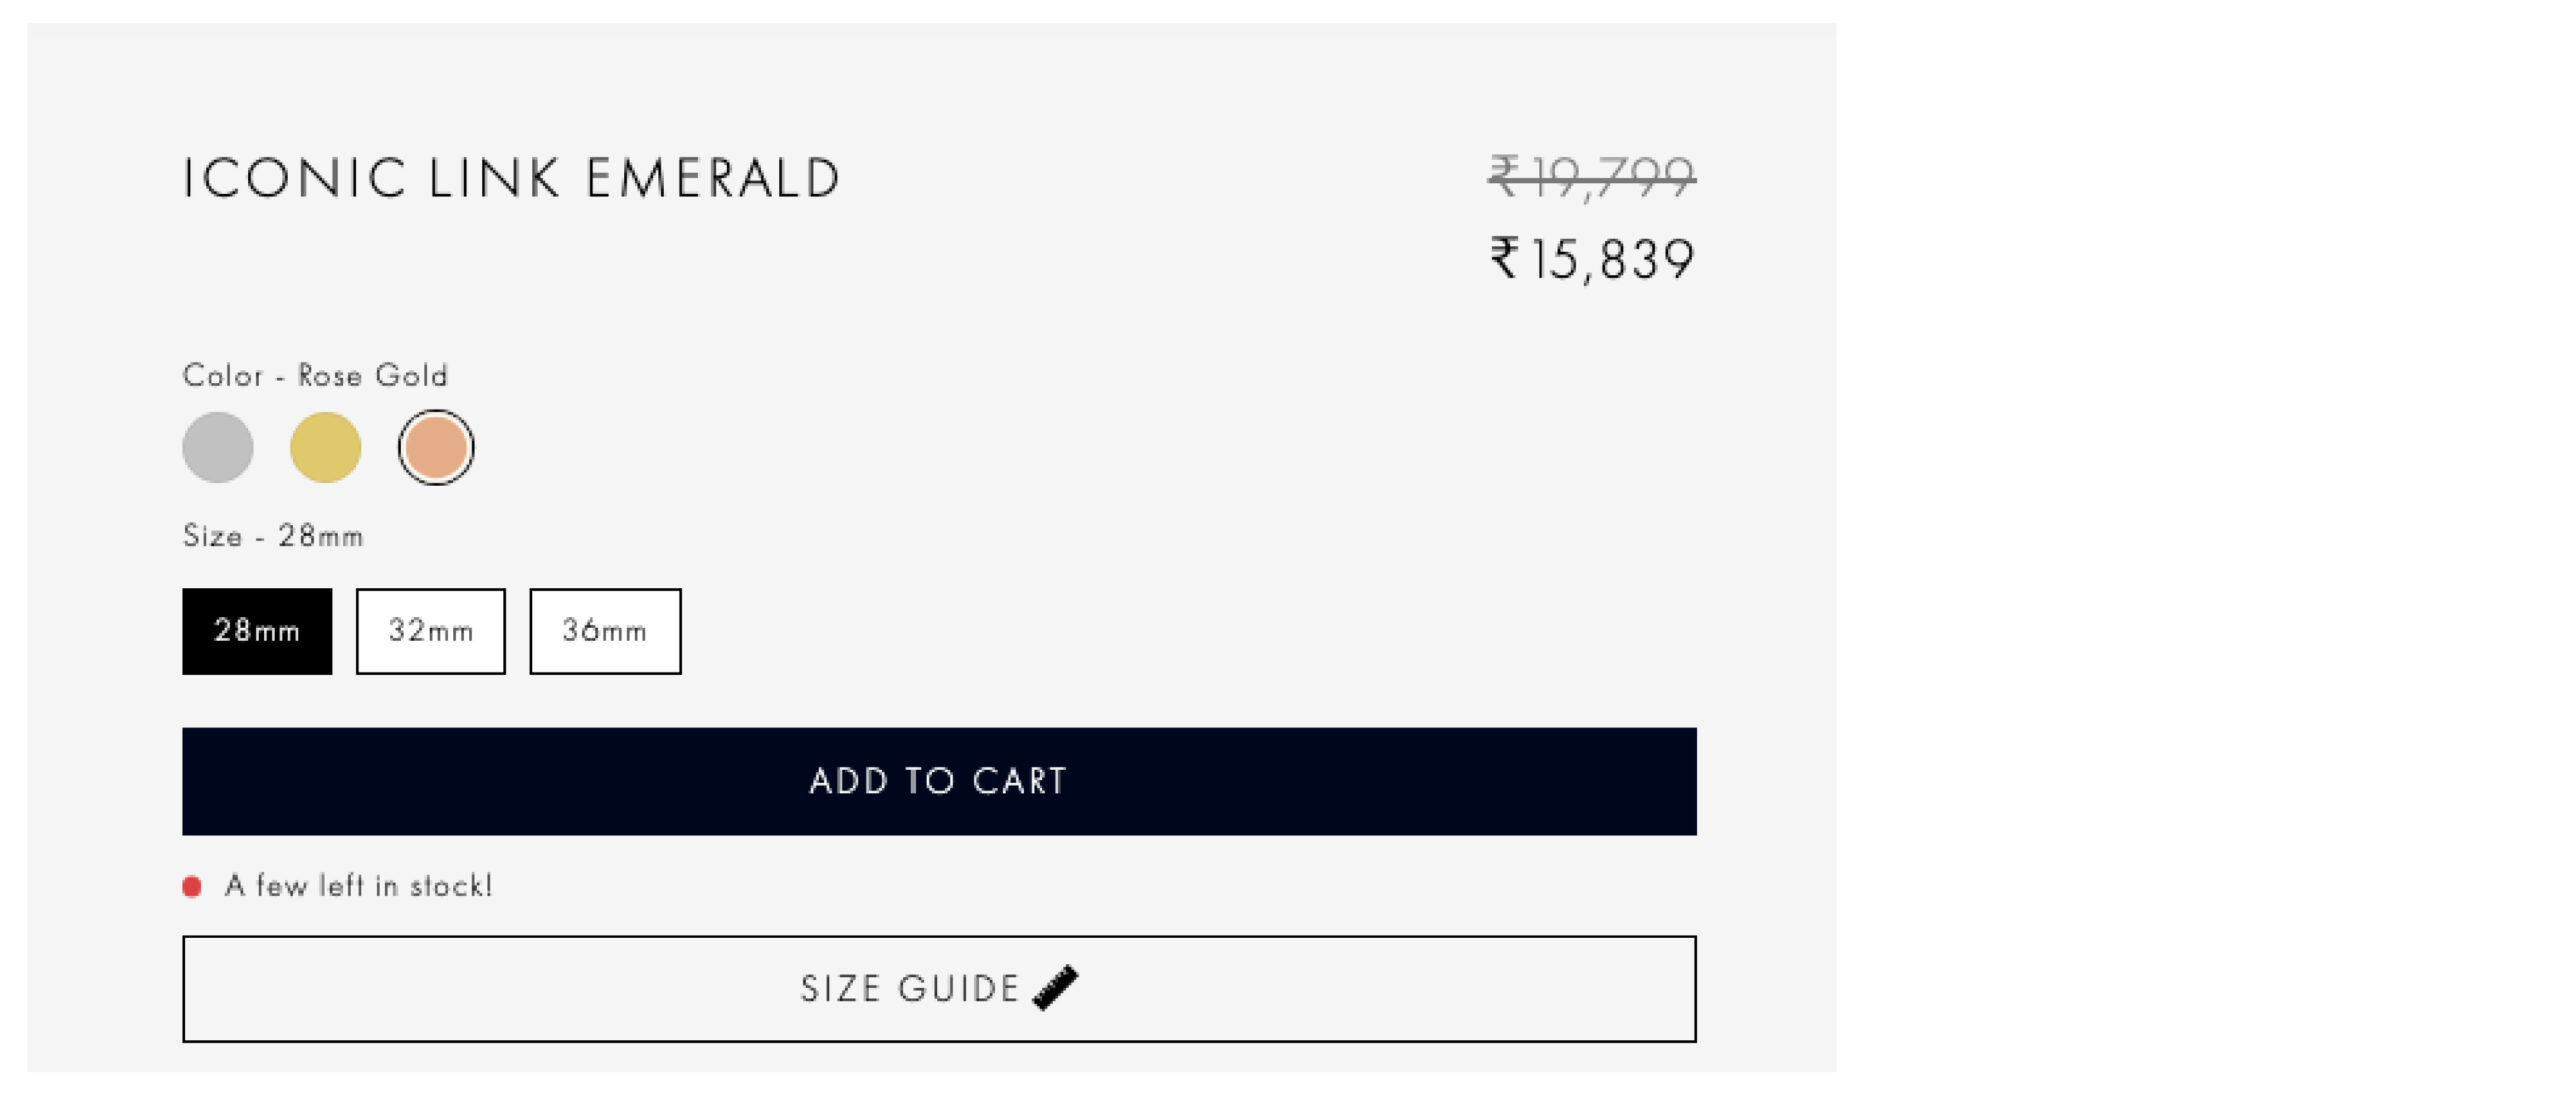
In both sets of examples, we can see that the attributes are neatly placed on the site. In the case of watches, the attributes include colors and strap details. However, when it comes to PC building, the attributes consist of various categories of components for the PC. Now this gives the customer the exact details of whether to buy it or not.
Variations
Well, Variations are the choices that the customer gets when they are purchasing the product, and they are based on the product attributes. When dealing with simple products, attributes are not obligatory or essential. However, for variable products, they play a significant role as the variations need to be linked to specific options available to the customer, which are represented by the attribute terms.
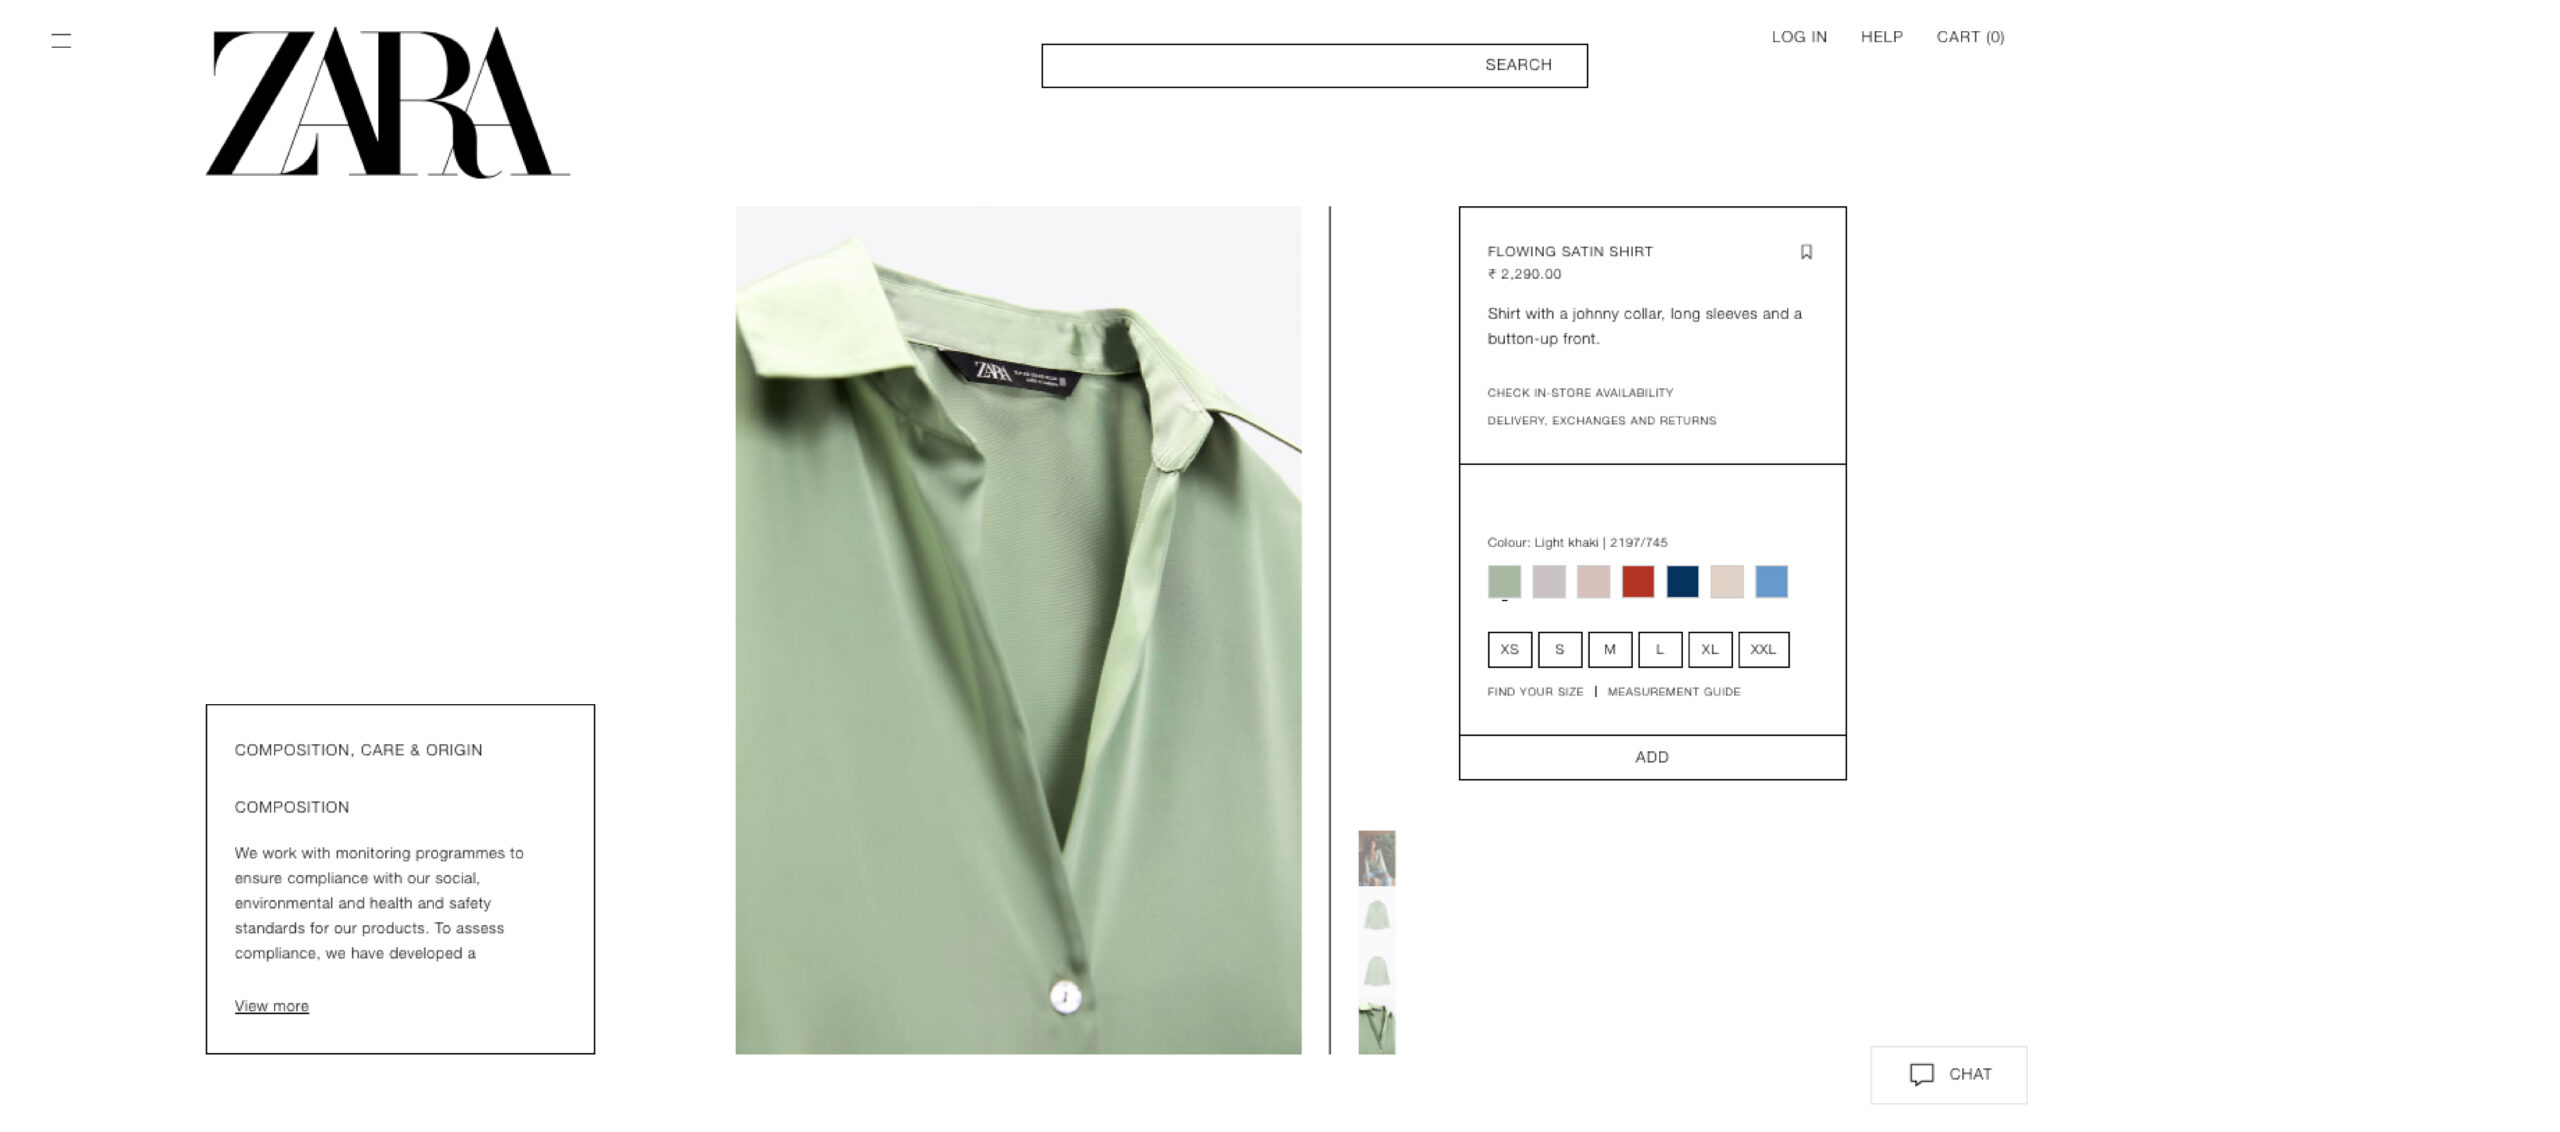
In the example of the watch, you have the attributes of colors and size. When the customer purchases that watch can pick up the color and sizes they prefer, or this can also show if a specific size of a specific color is available or not. So in simple terms, the combination of all the attributes is variation.
How to Set Up Woocommerce Product Variation
Now that we have had the appetizer on the main key terms that revolve around product variation let’s get started on the main course on how to set it up. Well, I am going to give you an overview of how to set up product variation using Variation Swatches for WooCommerce from themehigh.
Let’s start with setting up the attributes,
- In the WordPress dashboard, navigate to the Product → Attributes.
- From Attributes, you find the Add New Attributes section, in there create global attributes.
- In the field, add a name that is relevant and relatable to the product.
- Next, you can either leave the Slug field empty or add a URL slug based on your preference.
- From the Type drop-down, you can choose an attribute type that decides how the attribute value will be placed.
The currently available swatches are
- Color
- Image
- Label/Button
- Radio
- Image with Label
Next, you can find a design type drop-down; you can select a required design that will be displayed in the store.
Finally, select the Add Attribute button.
So now that a new attribute has been set, it’s time to configure the terms for the attributes.
- To Configure, select configure terms from the newly created attribute, well here, you can create variations for the specific attribute.
- Now inside Configure term, you can find Name, Slug, Description, Term Image, Tooltip Image, and Tooltip Description; you can fill in the fields to create a variation for the attributes.
- So Tooltip Image and Term Images can be set if you want by just uploading the image by clicking on the upload icon relevant to the field.
- You can also add information inside the Tooltip Description textbox.
- Once you have added the relevant information, select the Add New Term button.
Well, this is how to set WooCommerce Product Variations for a variable product in WooCommerce.
Now that’s done, let’s connect the attributes and variations you set to the product.
- First of all, you can create a product variation navigate to Products → All Products → Add New.
- Else you can also create a variation for an existing product by selecting the specific product from Products→ All Products.
- Now, from the Product Data section, there you can find the Product Type set as a Variable Product.
- Then go to the Attributes section, Select the Custom Product Attribute drop-down, and choose the attribute that you created earlier.
- You can select the attribute and click on the Add button, to add the attribute to the product.
- You can click on the Select All button to add all the variations of the attribute. Else you can also click on the Select None button to deselect all variations.
- Once the relevant changes are made, you can click on the Save Attributes button.
- Next, navigate to the Variations tab. Here, select the Create variation from all attributes from the drop-down and Select on Go button. With this, all the available variations will be listed.
- Set the variation image by clicking on the image icon and uploading the image from the media library. Also, Include the variation price and other variation details in the specific fields.
- Save the changes made.
So like this, include all necessary details in each variation.
Personalise Your Product Page: A Variation Swatches Example
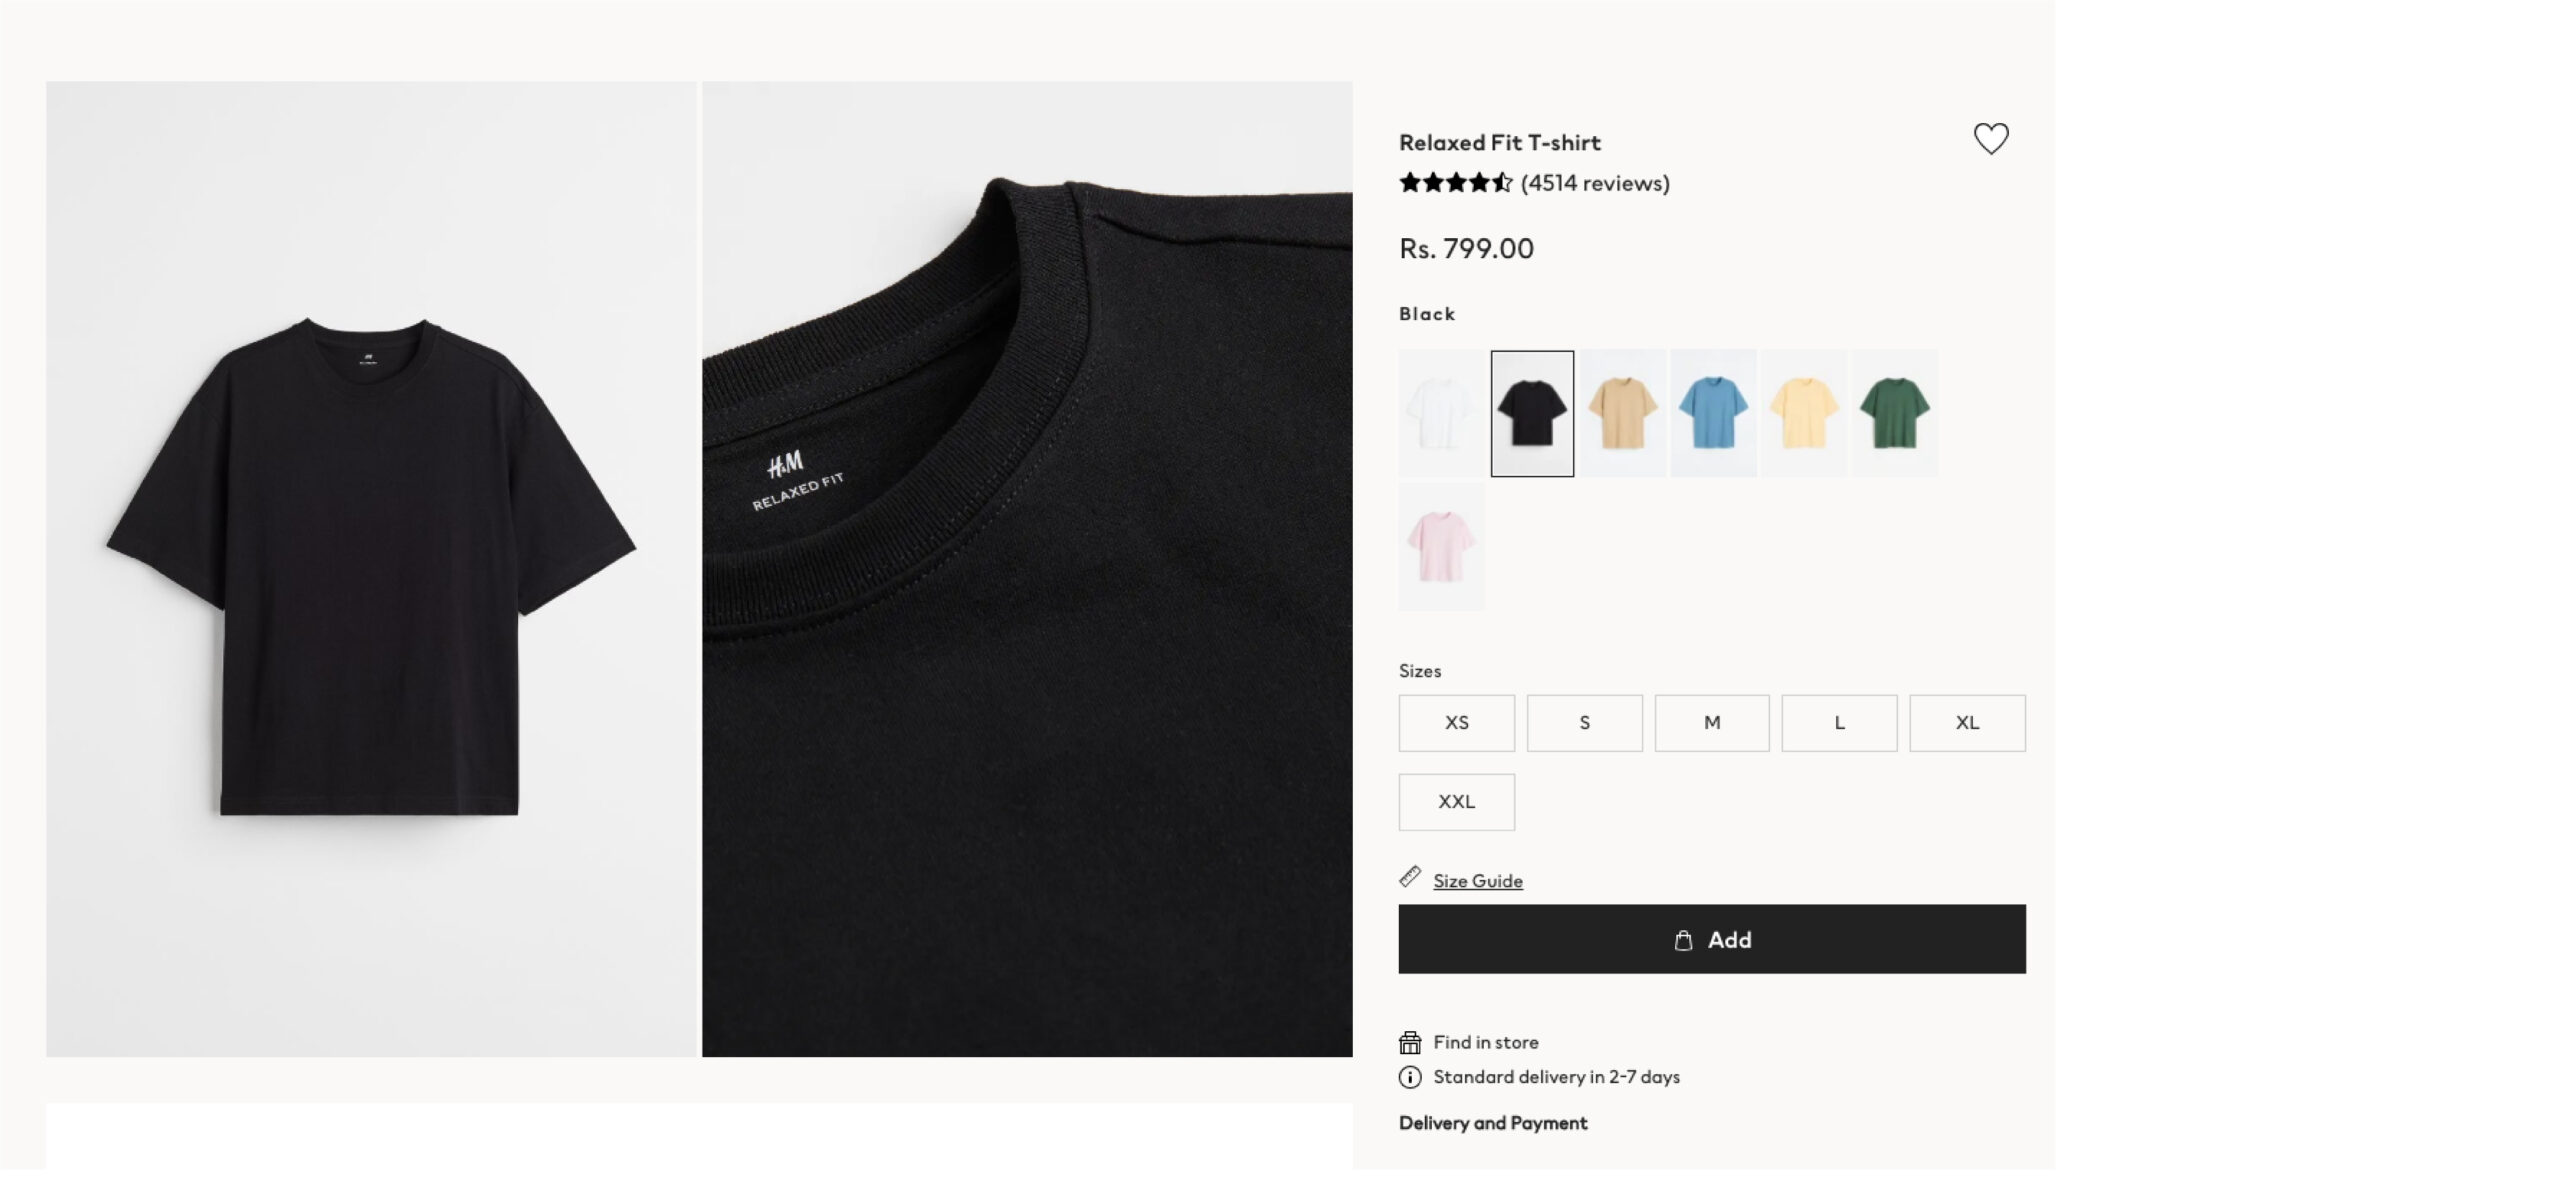
Let’s say a t-shirt store owner wants to set up a variable product in their WooCommerce Store.
- So the first step is to set an attribute that is relevant to the product; you can either go with the color or size, then create an attribute using the Add new attribute.
- Once you add in attributes, you can configure terms for the attributes,
- If sizes are the attributes, then the terms are going to be small, medium, large.
- If colors are the attributes, here, the terms are going to be Beige, black, blue, brown, grey, red, green, etc
You can additionally set in new terms and configure them as well inside the configure term.
Now that we have covered the basics, now it’s time to get on to the vital part of setting the product variations,
The next portion is mainly on connecting previously created attributes with the product,
- Start by setting the product type inside the product data section as a variable product.
- Then in the product data section, select the attributes, and from the custom product attributes drop-down, select and add in the previously created attributes.
- Select the drop-down, add, and save attributes.
- The next step is to set the variation, which is different combinations of all attributes.
- Inside each variation, you can set upload a product image, the prices, and other information related to the product.
- Finally, save your changes.
Swatches Options
Next up, I will guide you through a simple outline of how to use the swatches options by using Variation Swatches from themehigh.
In the WordPress dashboard, navigate to the Products → Swatches option.
Inside the swatches options, you can find three categories: product attributes, swatches design, and global settings.
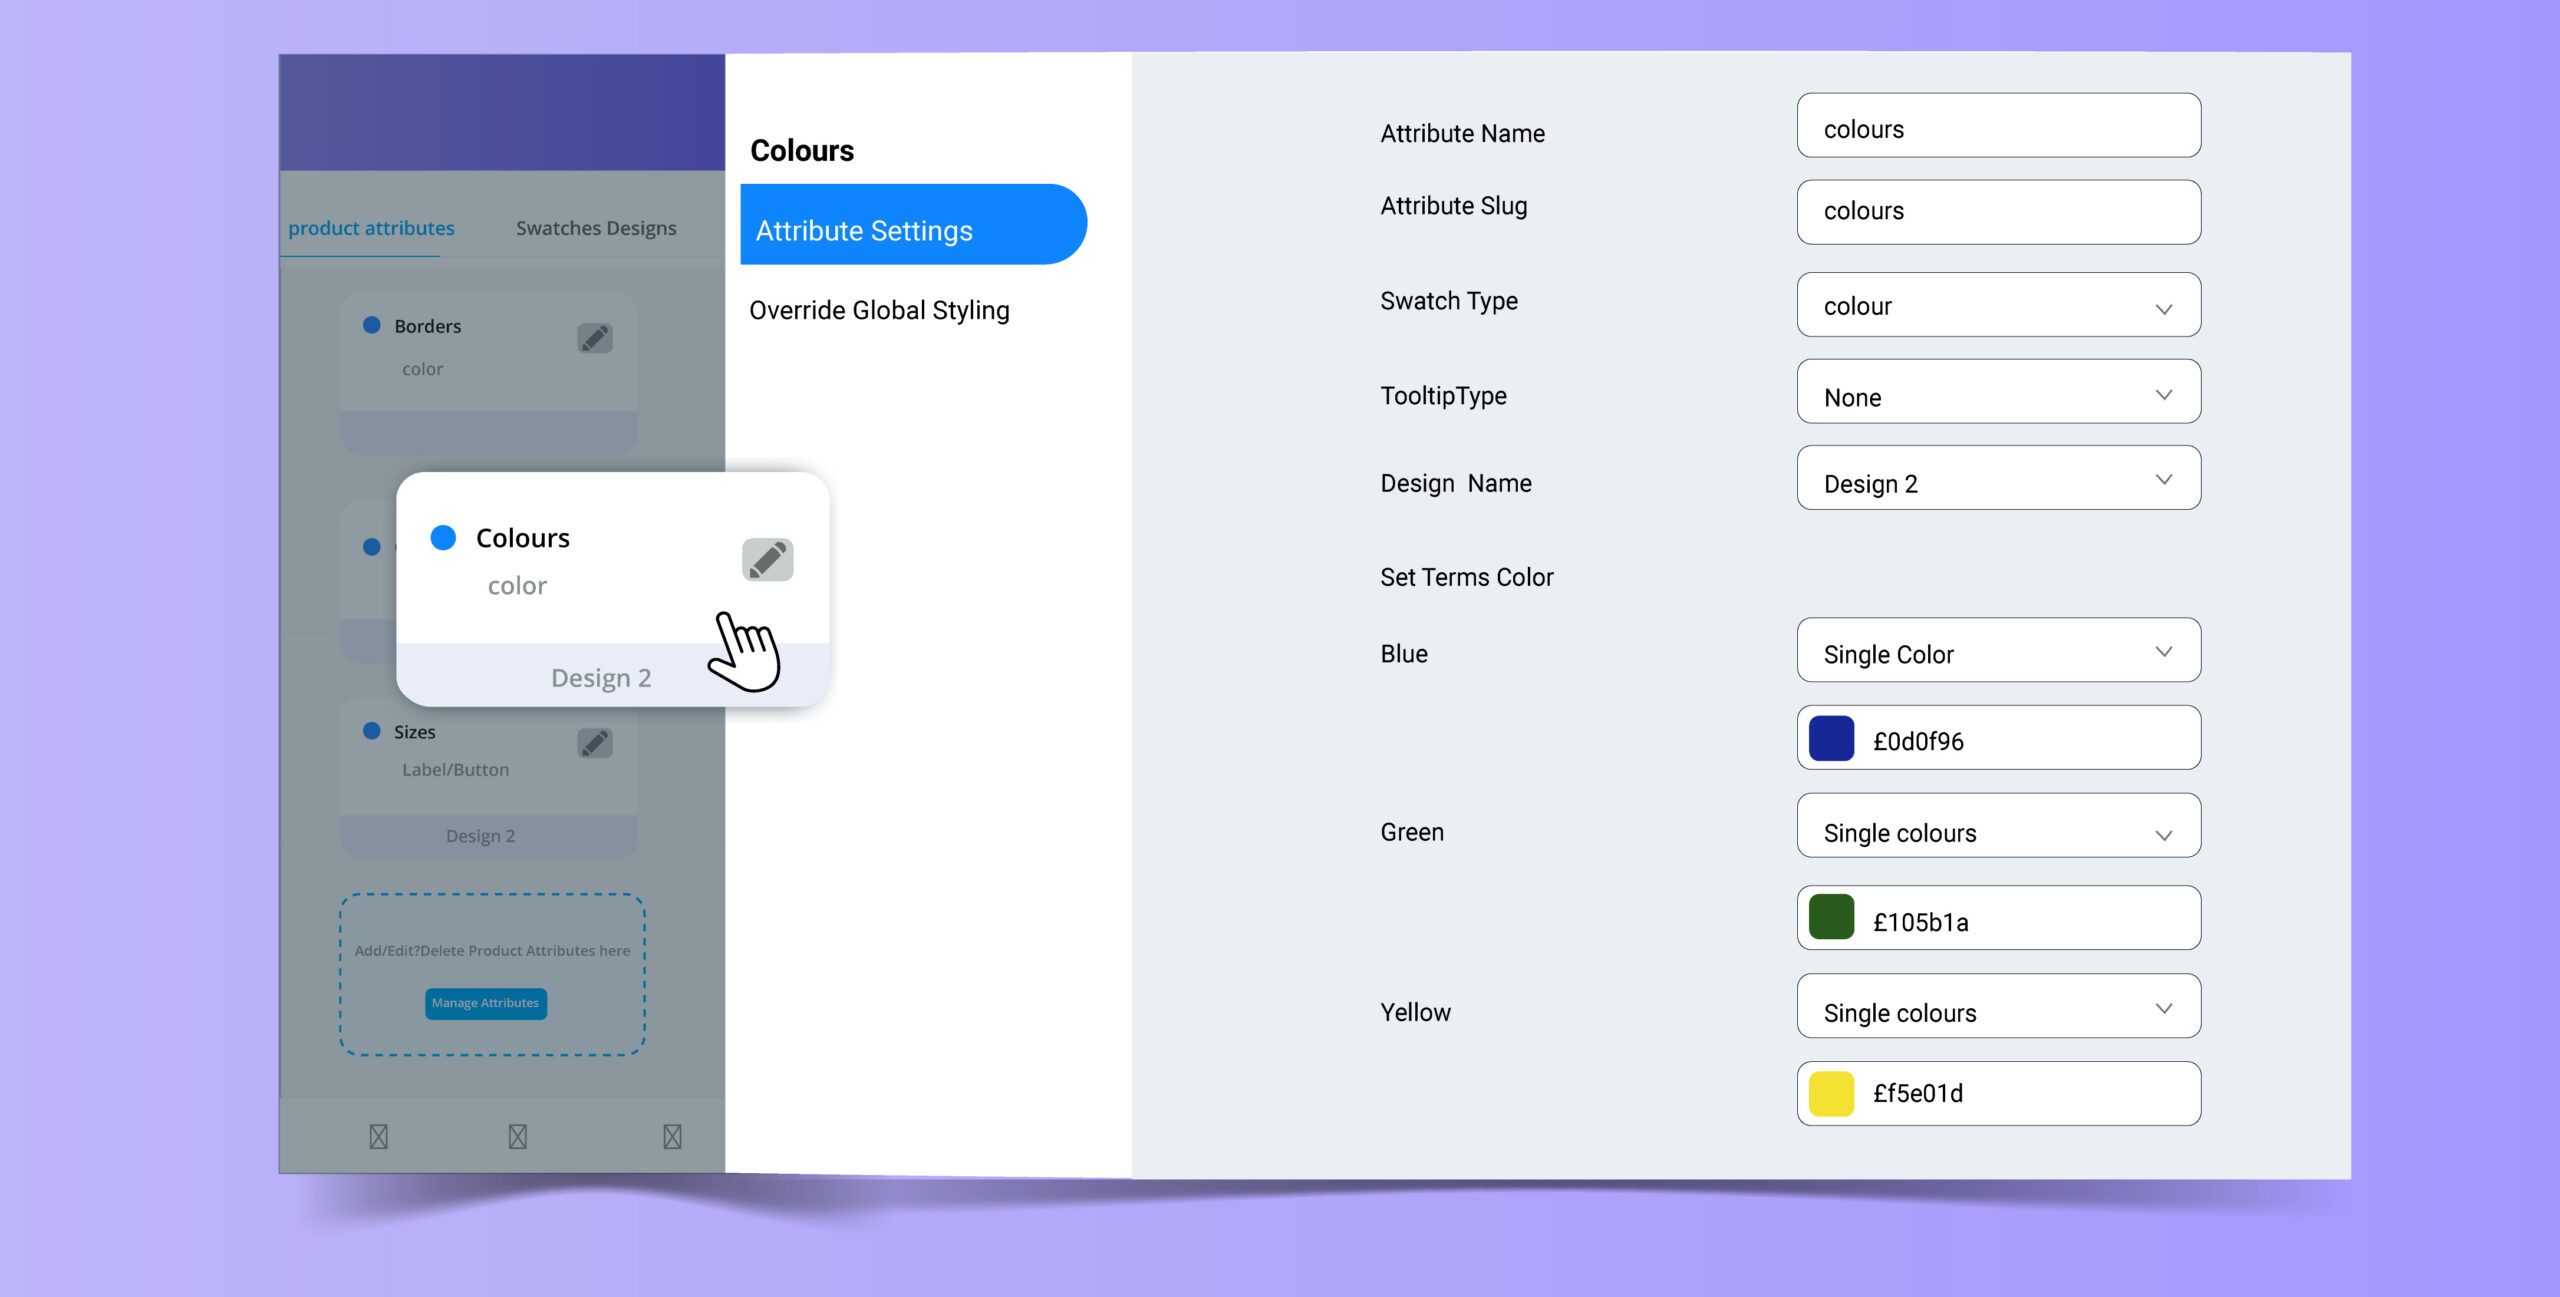
With product attributes, you could further customize attributes through attribute settings.
So you can customize the attribute name, attribute slug, swatch type, tooltip type, design type, and also set term colors. Swatch design can be used to give an overall personalization to your swatch designs. Your product page’s icon design, swatches appearance, or any kind of styling can be dabbled and played around with swatch designs. Now this leads to a global setting, which can be set to personalize the complete shop page of your store.
Final Thoughts
In short, implementing product variations is more of an intuitive, strategic approach with a hint of creativity. Organizing and presenting your options in a visually appealing manner and personalized on your product page is quite beneficial for both consumers and store owners. You enhance the overall shopping experience, creating a sense of excitement and anticipation as customers customize their orders and thus ensuring a satisfying journey for them.


 THANK YOU!