

Every customer’s WooCommerce shopping journey starts by viewing the photograph of the product they desire. Unlike shopping from a store, where all our senses are at play, online shopping solely depends on our visual perception of the product. If you intend to sell something online, having high-quality photographs of your product is crucial, if not unavoidable. The functions of your WooCommerce product photos are multifold. It should be appealing enough to grab customers’ attention as they rapidly scroll through. It should depict the visual details of your product with utmost clarity because nobody likes surprises while shopping online! Providing clear pictures also helps in building trust among your customers.
In short, your picture is your clickbait!
But for all of the above to happen smoothly, the product photo should load instantly. In this blog, we will be looking at how you can take care of all these aspects in a simple yet cost-effective way.
Hiring a photographer to click your product photos could be heavy on your wallet. So, how to achieve your objective without one? Well, we are fortunate enough to be part of an era where technology is not just fast evolving but also accessible and affordable. Even if you are an amateur photographer, you can click visually appealing pictures for your WooCommerce store. Ready to find out how? Let’s dive in!
What we will be covering:
- Equipment needed to click WooCommerce product photos
- Camera angles and viewpoints for product photography
- Editing your WooCommerce product photos
- Optimising your WooCommerce product photos
Let’s Get Started…
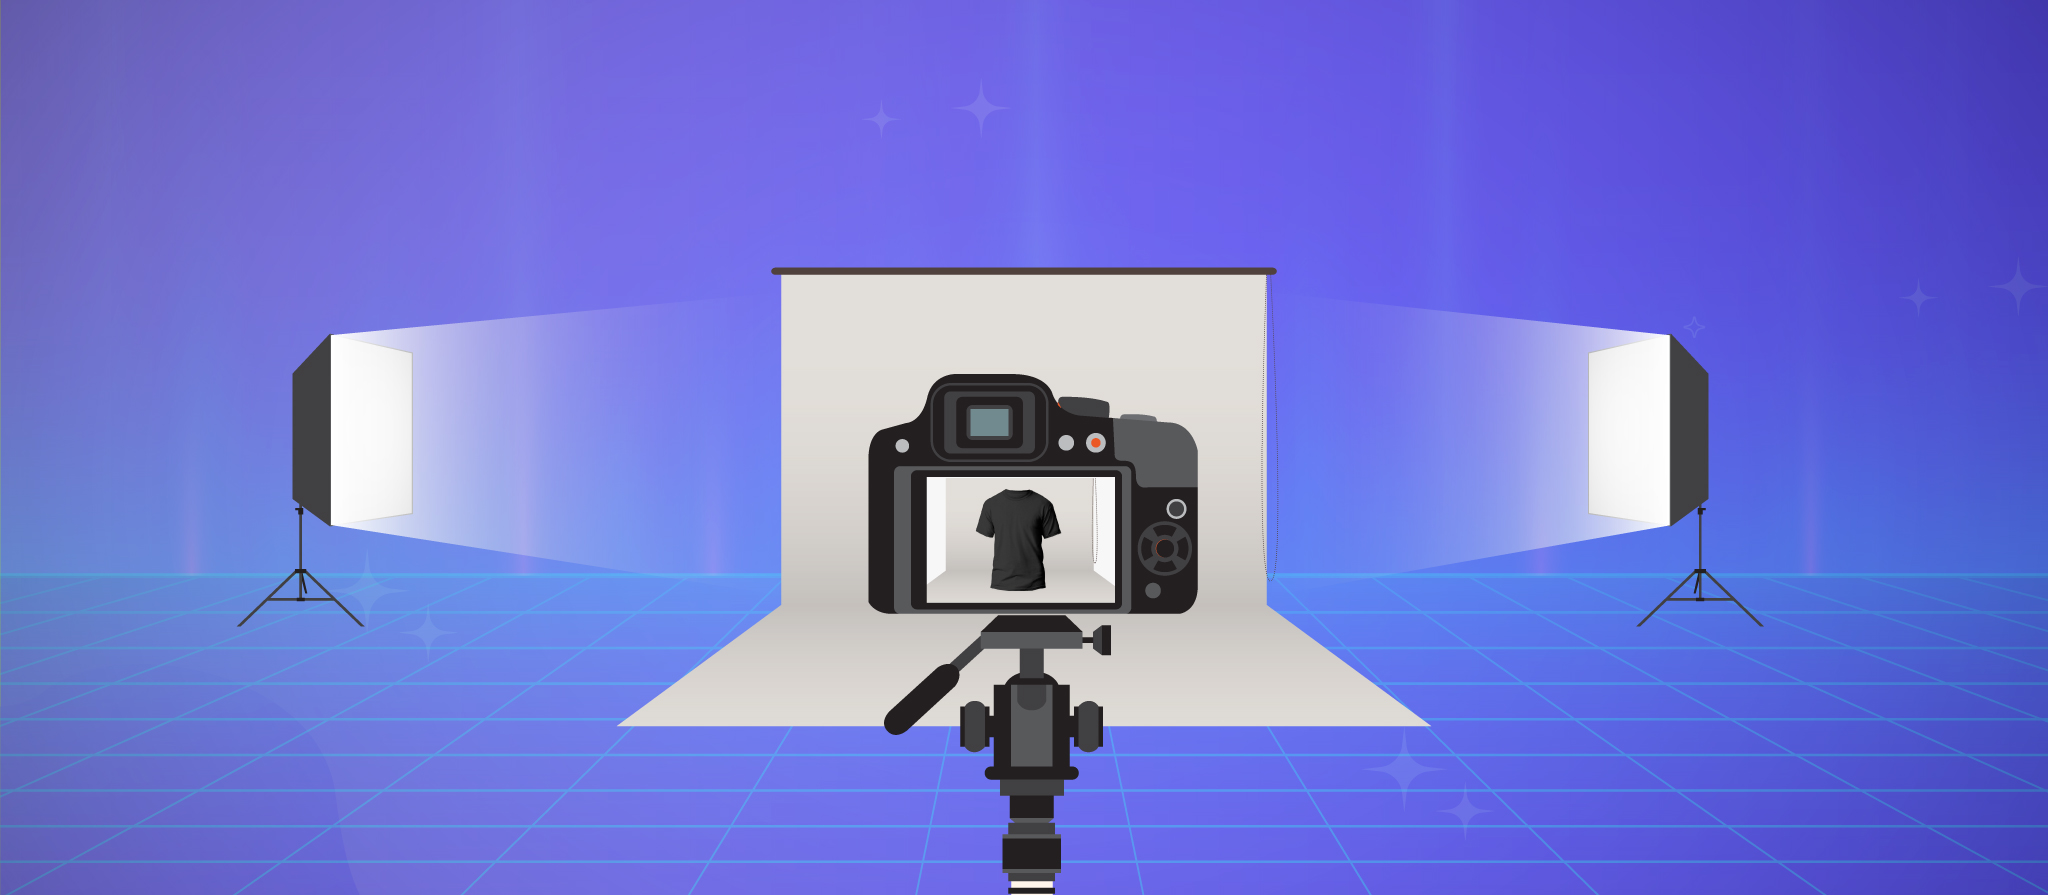
We will start by looking at the equipments you will need to click the perfect picture for your WooCommerce store.
Camera
First off, you need a camera (obviously!). But you don’t always need a sophisticated DSLR camera to click good-quality pictures. So if you are on a budget, don’t fret; a smartphone with a decent camera can do the job. Having said that, it doesn’t hurt to have a fancy camera at hand. So if you already own one, that’s fantastic! But with a plethora of image editing tools available, any image can be enhanced and given a professional touch. We will come to that later.
Tripod
Now with the camera ready, we come to the next tool – a tripod. Tripods are a low-investment tool and it’s importance is often understated. Positioning your camera on a tripod instead of holding it in your hand can make a sea of difference to the quality of your pictures. It helps you click steady shots by ruling out the possibility of blurring, and most importantly, your hands won’t tire even after a long product shoot.
While clicking pictures of your product, you must capture pictures from different angles to give the customer an overall view of your product. In such a scenario, a tripod makes it easier to standardise product angles. Pick a size that suits your requirement, and if you are using a smartphone, add a mobile grip to your tripod or opt for a smartphone tripod.
A Dedicated Room
While clicking WooCommerce product photos, having a dedicated room/space is always better to avoid setting up your equipment every time you click a picture. To set up a home studio, the most straightforward trick is to go for a well-lit room with big windows as they will let in more light. You can use a table to place your product or set it up on the floor. But always ensure that light directly falls on your object.
Lighting
There are two options for lighting: natural and artificial. However, before moving on, we must discuss hard and soft light to effectively set up lighting for your studio. Soft light creates shadows that blend into the background and are usually not discernible. While hard light creates dark and well-defined shadows that can be clearly demarcated from the object.
This brings us to the next question, what type of lighting produces soft and hard light? Well, it depends on the distance and size of the light source.

While using natural lighting, placing your product close to the window generates soft shadows, and moving it far from the window creates hard shadows. That’s not all; Bright sunny days usually produce sharp shadows, while cloudy days are more evenly lit and generate soft shadows. Similarly, a small light source, like a flash camera, generates hard light, while a large light source, like a window, generates soft light. Hence, as discussed above, you must set up your studio in a room with a large window. Now your next natural doubt would be which light to pick while shooting your product. Both options have their own pros and cons, and your choice should be based on your requirement.
Soft light is more flattering on the subject as it hides imperfections and makes your subject look more natural.
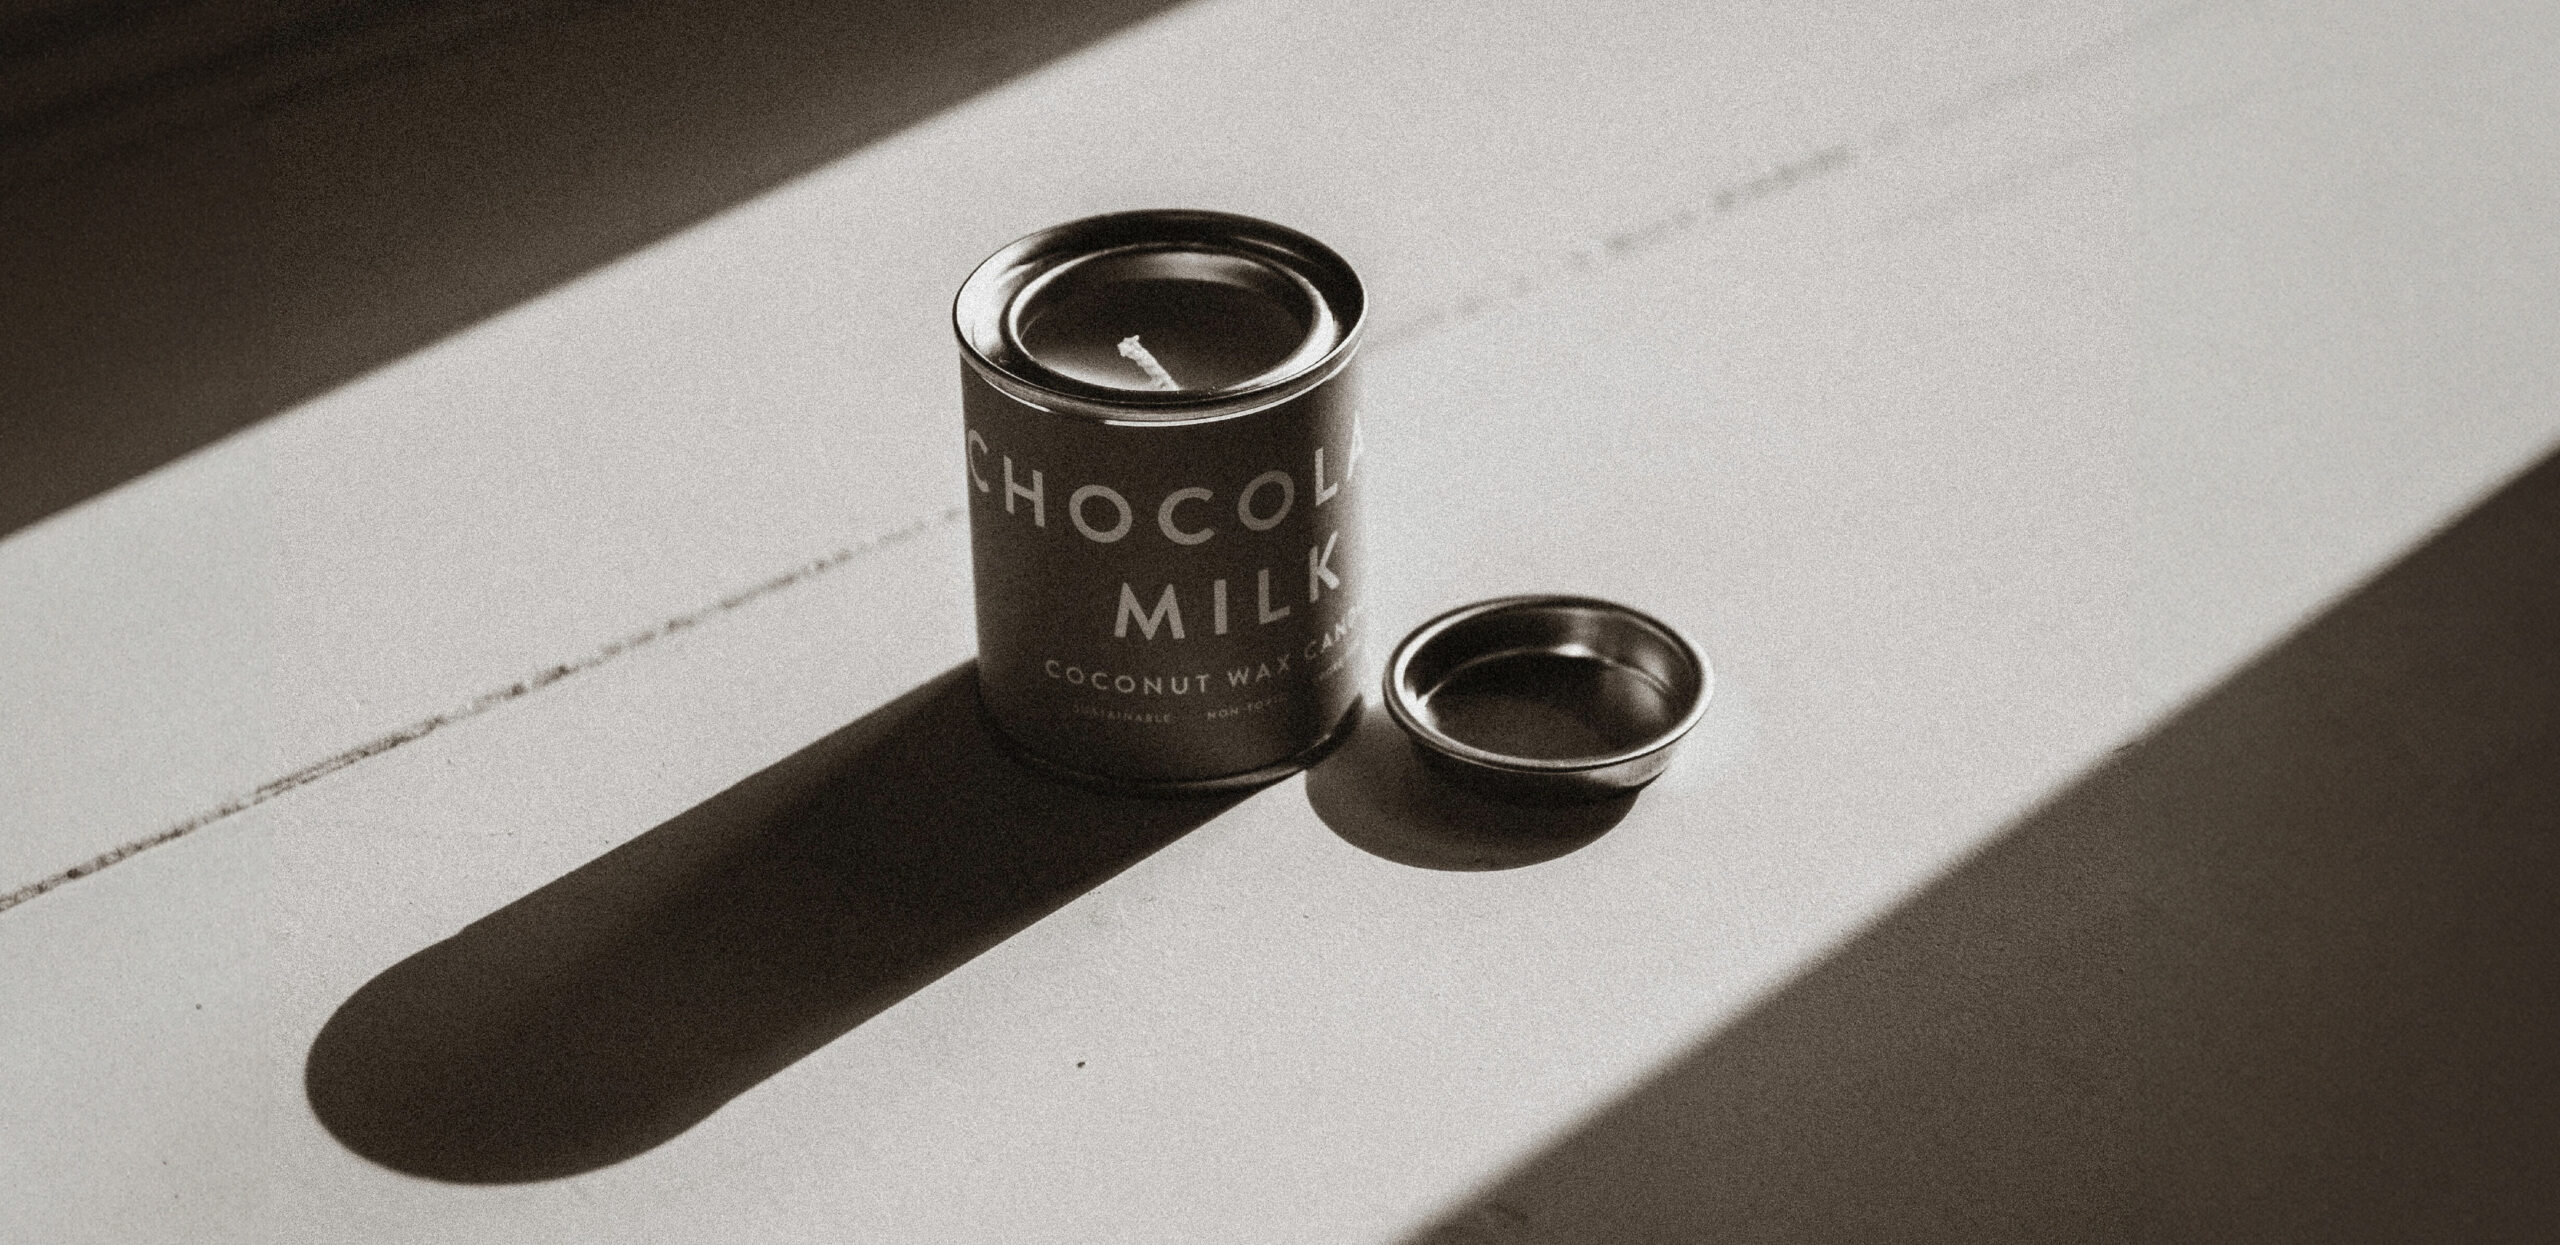
Hard light creates more dramatic and gritty pictures with interesting textures and patterns. Photographers generally prefer soft light for product photography. The main goal/focus should be to ensure that your product is the centre of attention and that no other element overshadows it. Now that you have understood hard and soft light, it’s time to look at natural and artificial lighting.
Natural Lighting
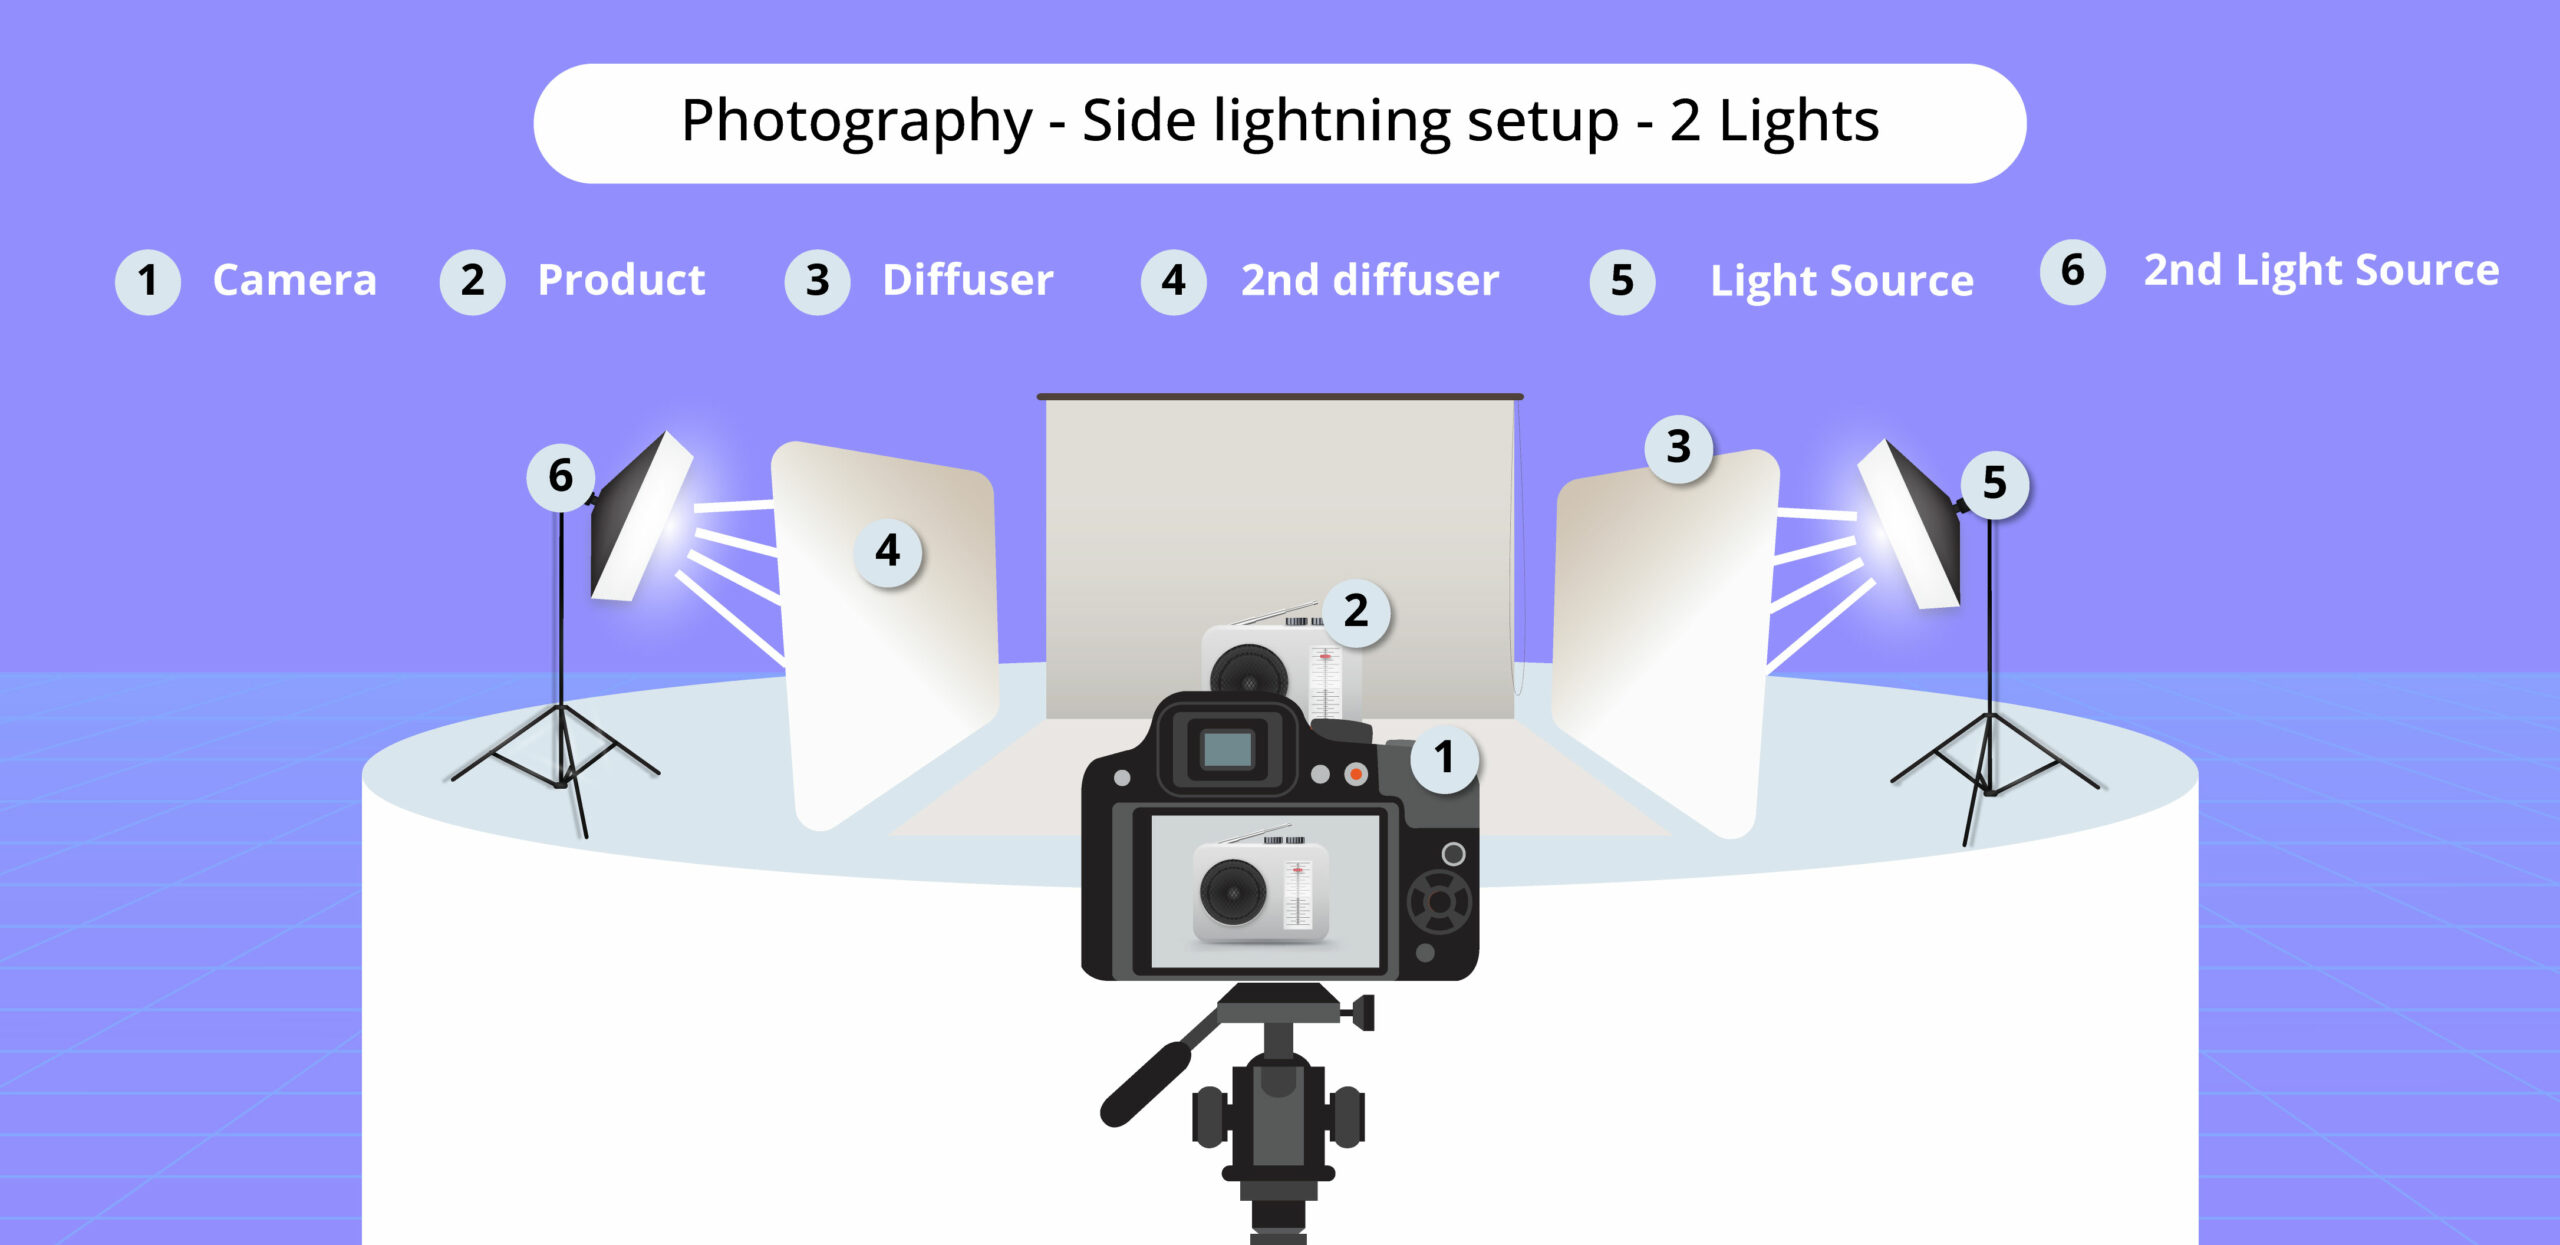
The advantage of natural lighting is that it is free of cost and readily available. However, depending on natural lighting for product photography can be tricky. You have no control over the light; the direction and intensity of light change throughout the day and with every season, so clicking pictures from the same room might seem challenging. It can also create unexpected colours and contrasts in your photographs which might affect the consistency of your product images as the shoot progresses. And then comes the most apparent downside; your shoots can happen only during the day. But even with these compromises, natural lighting is a great option to start your product photography journey as it is easy to work with. While working with natural lighting, place the setup at a 90-degree angle to the window to enable side lighting. This will highlight your product’s shape and texture very well.
Artificial Lighting
If you prefer not to be restrained by the limitations of natural lighting but find artificial light expensive, worry not! You can easily set up artificial lighting without paying over the odds. All you need is a continuous light source(continuously on) instead of strobe lighting that provides flashes of light. This could be a simple household lamp with an adjustable head. LED bulbs with high wattage and good white balance are a great choice for artificial lighting. You can use just one lamp or two lamps on both sides to avoid shadows. However, the issue with artificial lighting is that it might take some trial and error before you figure out the most appropriate arrangement for your product.
Word to the wise – “Never combine two different light sources. Stay consistent with your light source. If you opt for natural lighting, don’t combine it with artificial light. Different light sources cast different hues on your product and distort the clarity.”
Diffuser and Reflector
Using a combination of diffuser and reflector softens shadows effectively and brightens up the image.
A diffuser placed between your light source and object softens the light and disperses it to a larger area. As a result, light falls on your object from multiple angles, softening the light. You can opt for a diffuser when your light source is small or if it produces hard shadows. A thin white sheet can be used as a diffuser. You can also go for a sheer white curtain for your window, in case of natural lighting. While using artificial light, you must keep one in front of each light, depending on the number of lights you use.
When light falls on the object from one side, it casts a shadow on the opposite side. To reduce shadows, place a reflector facing the light source. For example, set the reflector on the right if your light is to the object’s left. It illuminates the region where light is not reaching and thereby brightens the product by directing more light at it. You can use a simple white poster board as a reflector. The larger the area of the reflector, the softer the light will be on the subject.

While using side lighting on both sides of the product, you can do away with a reflector, as shadow compensation already happens because of the lighting.
White Background
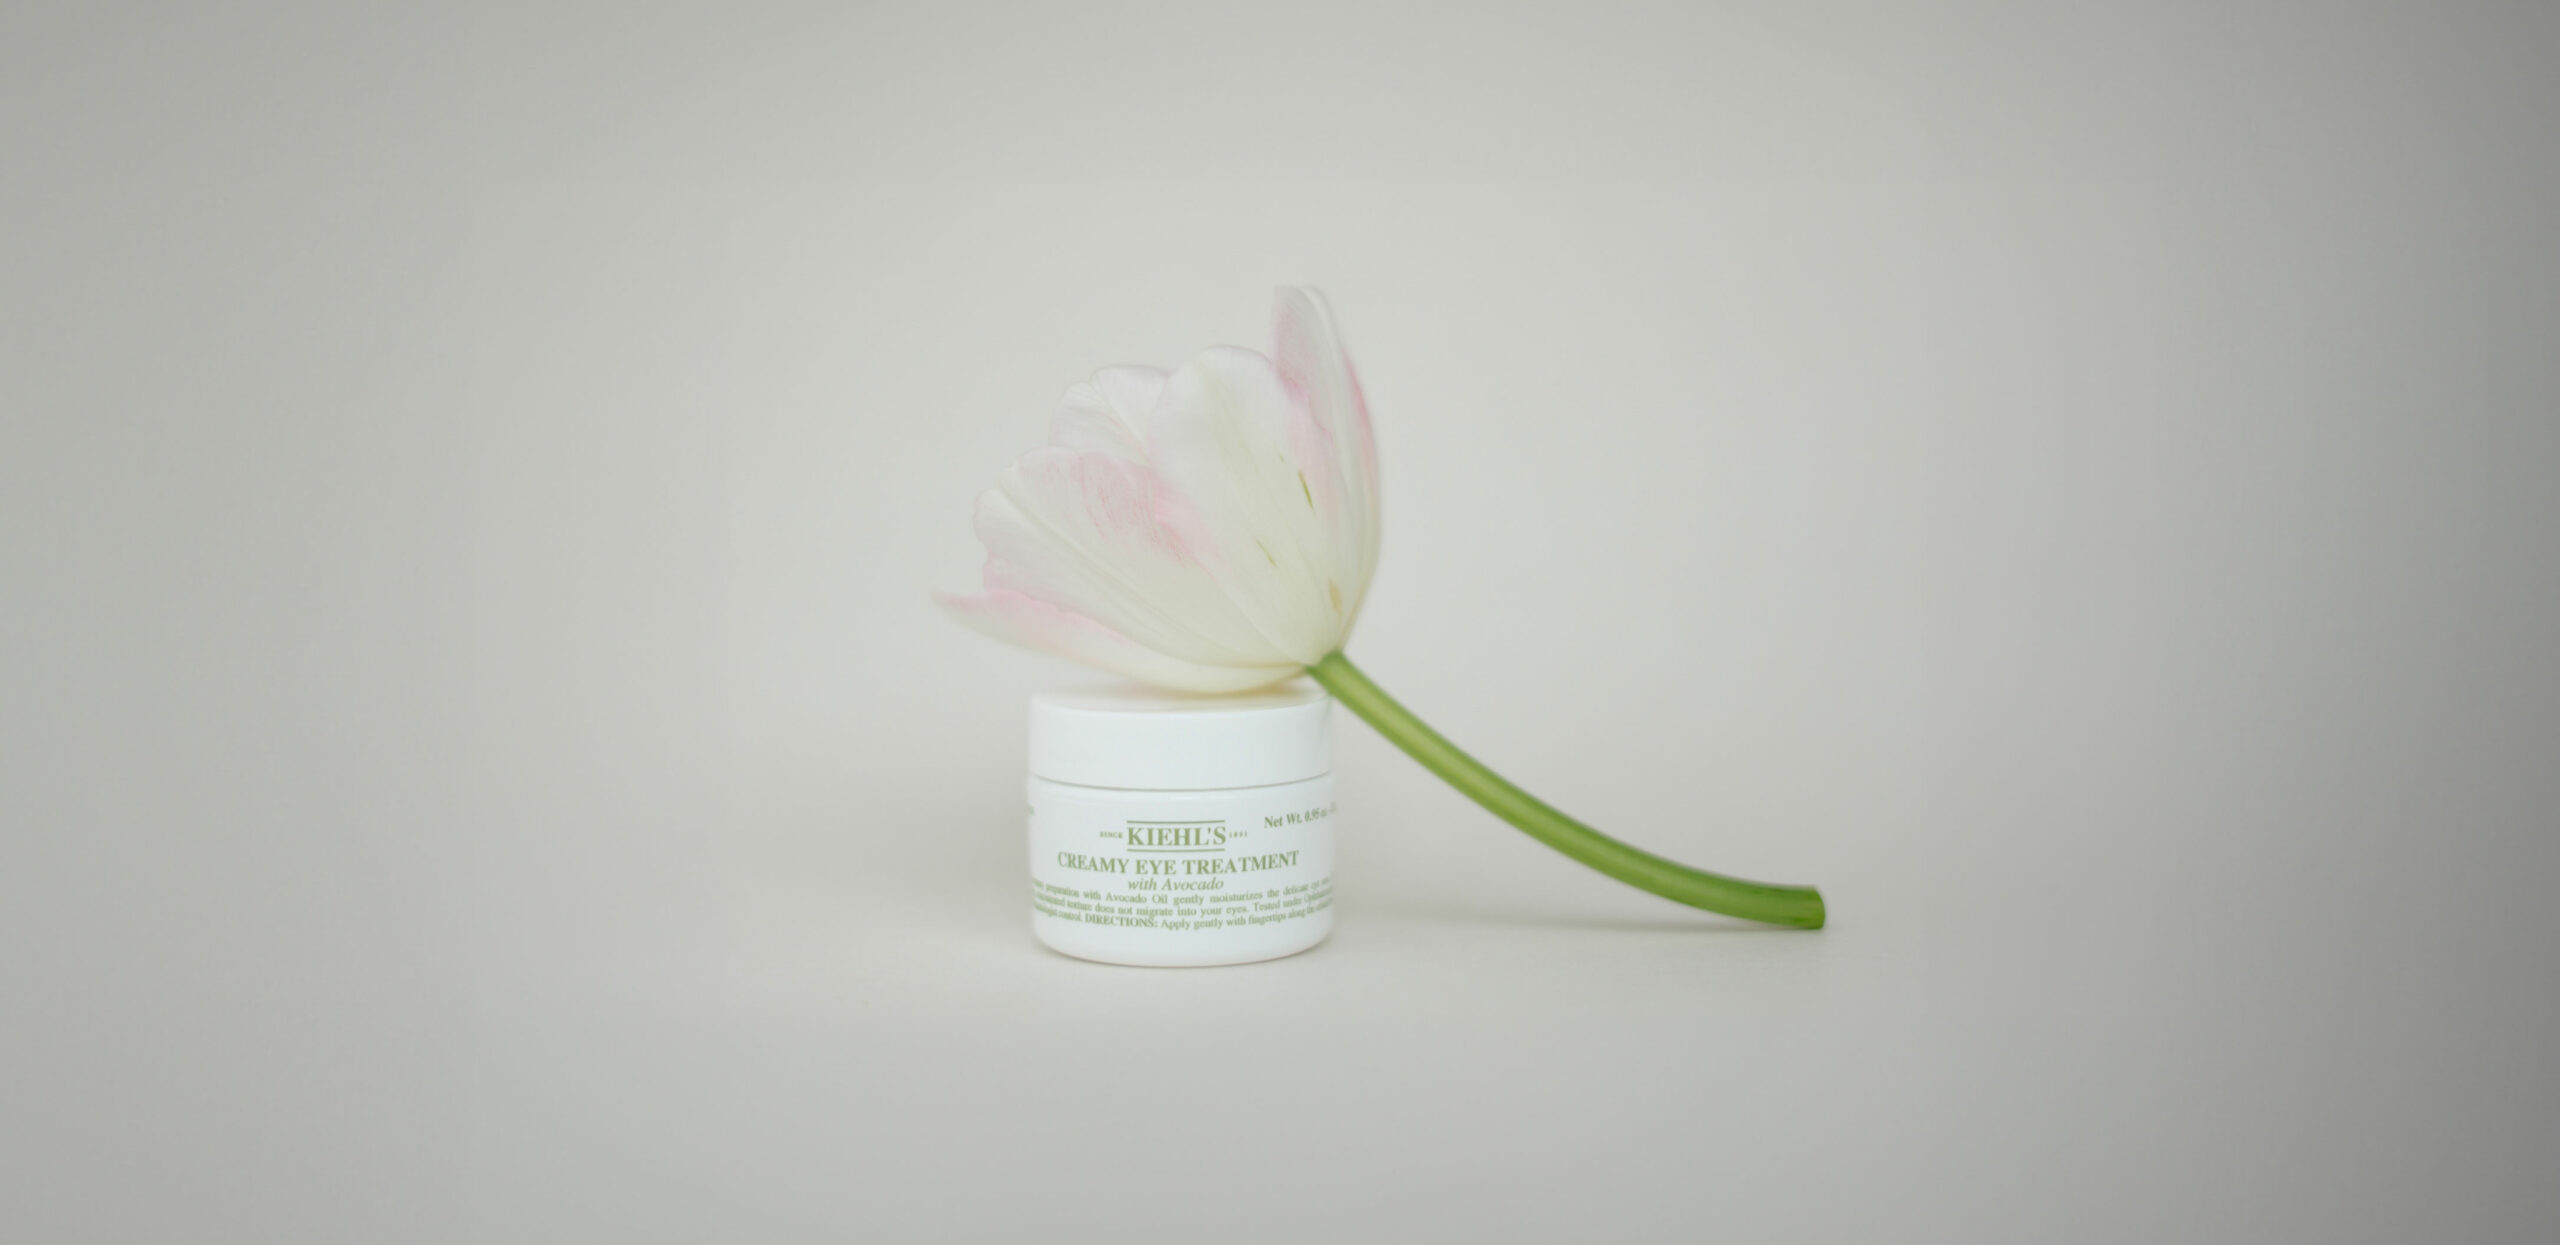
You should use a pure white (not off-white or cream) background for your WooCommerce product photos. It reflects the natural light onto your product making it evenly lit. It also eliminates distraction by directing the focus on your product. A white background also lets you crop your product from the image and paste it elsewhere for future modifications.
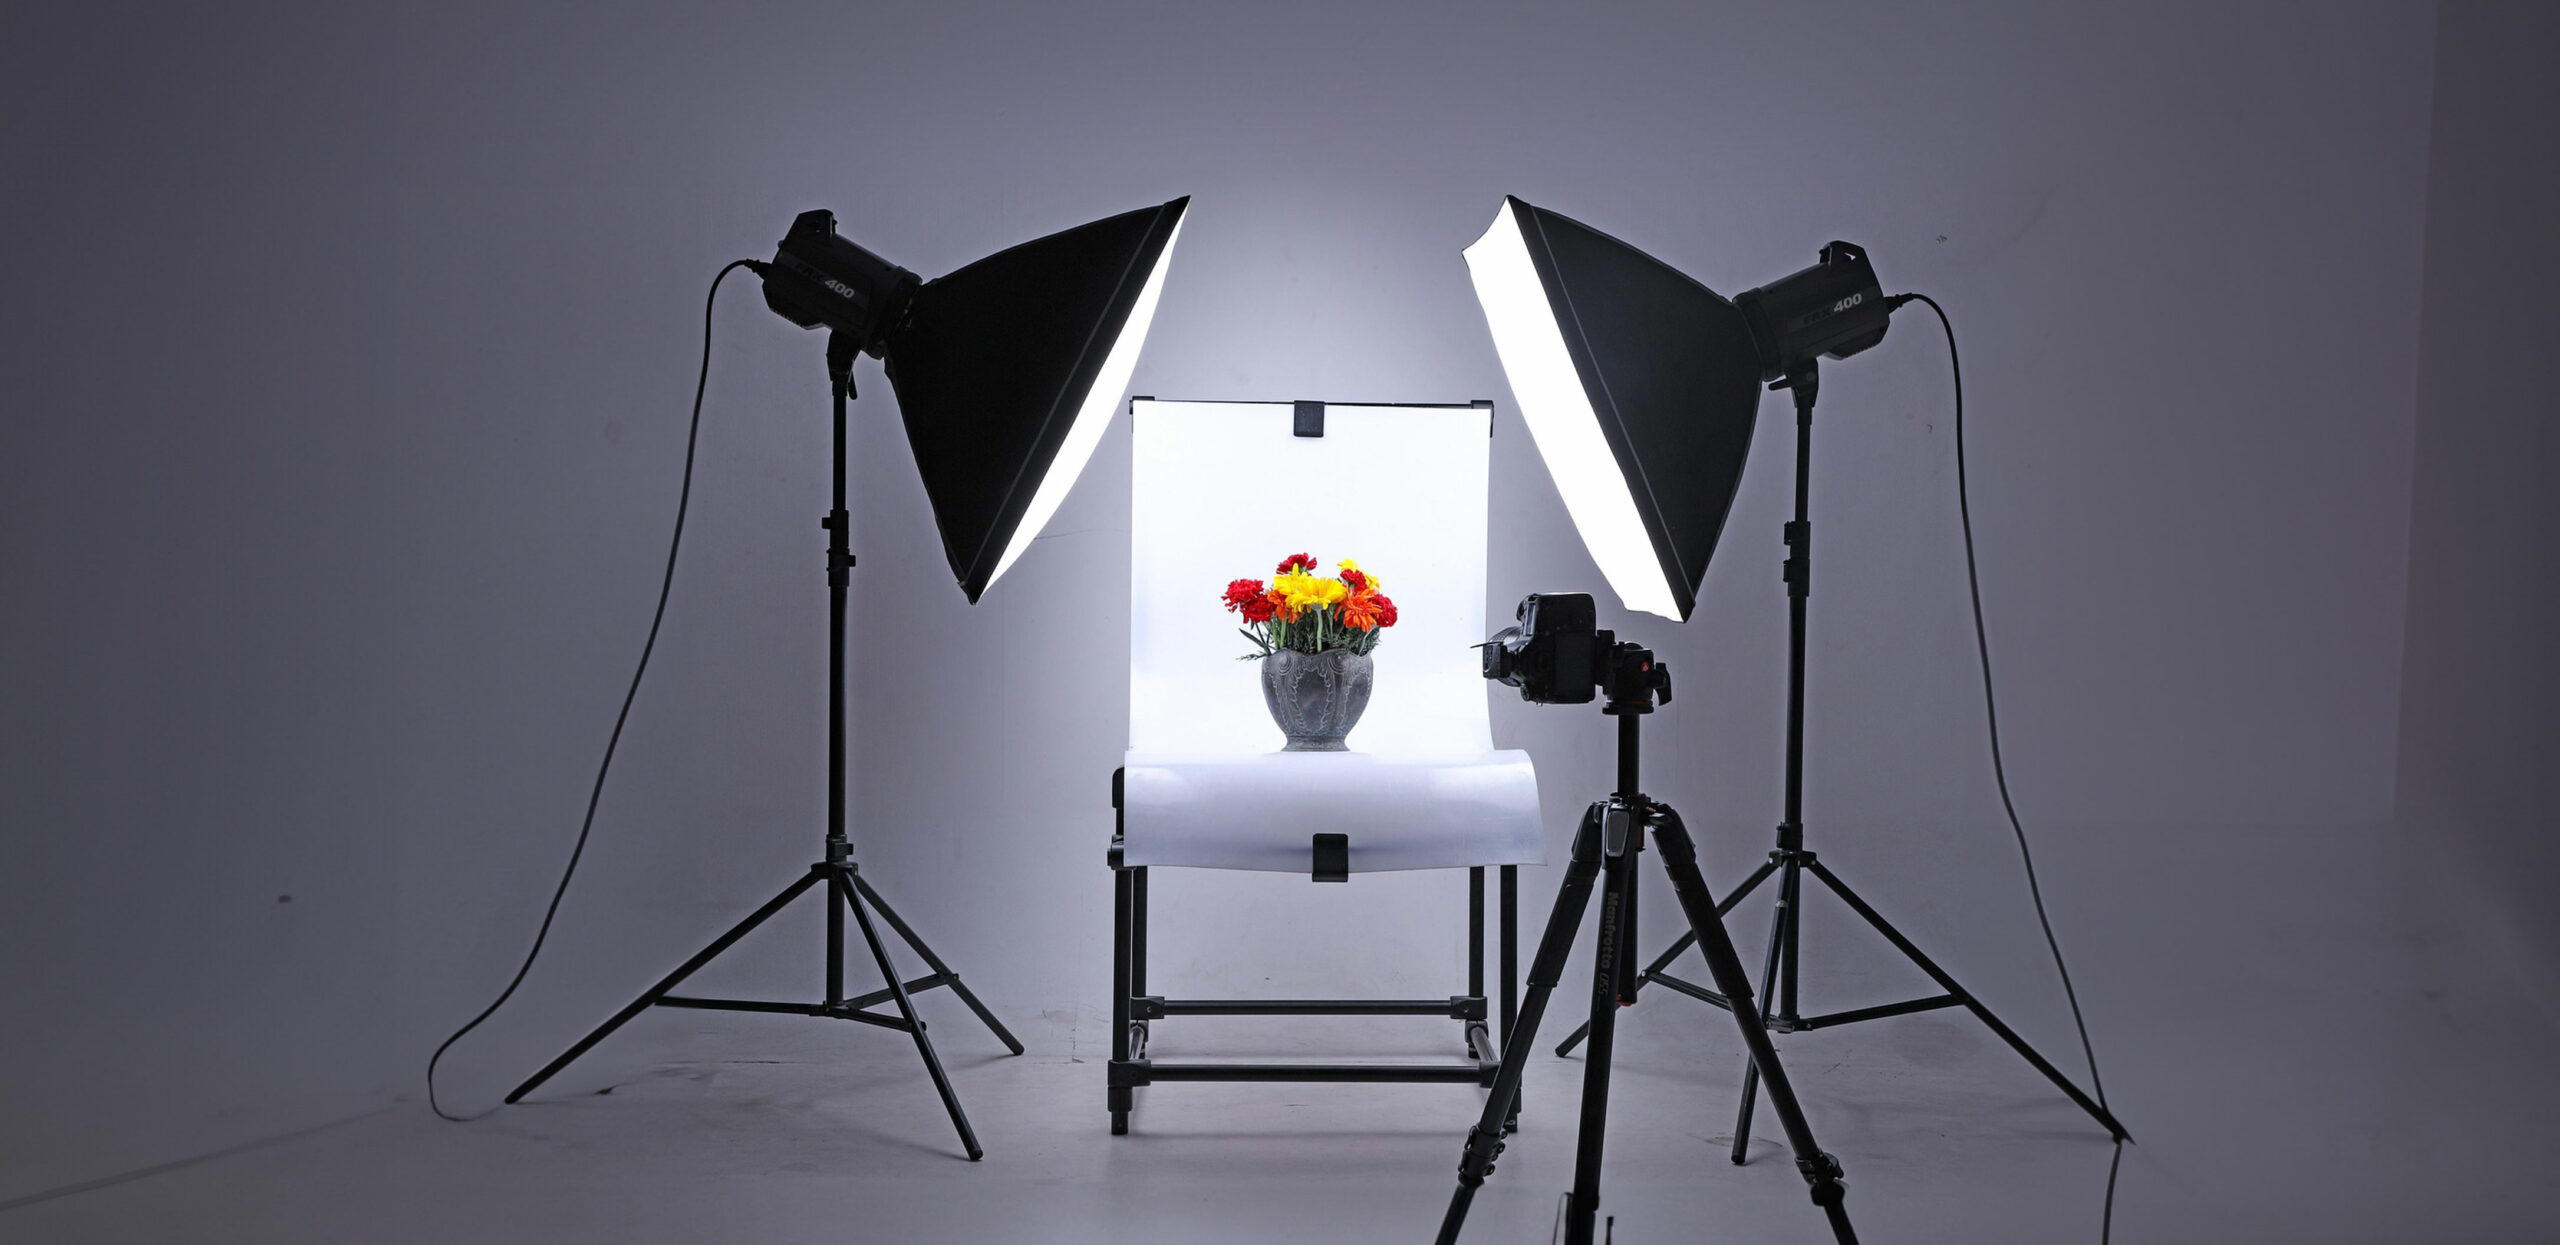
You can easily create a white background using white sweeps, which are readily available online. A sweep is a curved screen placed behind your product to provide a seamless background without any shadow-generating corners. Your sweep should ideally be bigger than the product, and you can invest in a stand-mounted sweep if you are working with larger products. You can also tape your sweep to the wall instead. You can use a pure white display board/poster board or a roll of craft paper for smaller products. Now that we have assembled all the necessary equipment, let’s move on to the next section.
Essential Camera Angles and Viewpoints for Product Photography
Irrespective of your product, your goal should be to click pictures that give the customer an overall idea about your product. This means you should click photographs from multiple angles and viewpoints to provide a wholesome view of the product because your photo is the only source the customer can rely on. Yes, every product will have a distinctive description, but people trust their eyes more when shopping online. To make things easy, experts have tried and tested some standardised angles and viewpoints best suited for product photography. ‘Viewpoint’ is your POV or the camera’s position from where you click pictures at different ‘angles’.
Viewpoints
- Eye-level – the camera is at the same level as the product giving a straight view
- High shot– the camera is elevated, looking down at the product.
- Low shot – the camera is placed beneath the product looking up at the product.
Angles
- Front angle – This angle captures the front view of the object. The most essential and fundamental angle in product photography
- Profile angle – Captures a side view of the object. This angle is more product specific and might be helpful if you need to focus on a logo or other particular details.
- Back angle – Captures the view from behind. It provides additional details and can be used for clicking clothes, gadgets, or even shoes.
- Bird’s eye view – Captures view from up above. It’s product specific and beneficial if you are selling food items.
- 45-degree angle – The camera is placed at a 45-degree angle to the product. This can be used to capture a bunch of products placed together.
Few More Photographic Styles to Experiment
- Detailed shot/Macro shot – To capture a macro shot you should either use a macro lens or move your camera closer to your product. It helps to showcase the finer details, like texture, composition, material, and other specific details of your product.
- Group shot – If you are selling your products as a bundle, you can take pictures by grouping your products together.
- Scale shots – To take these shots place your product next to other everyday items to enable customers to better gauge product size.
- Lifestyle shots – These shots depict your product in real-life scenarios. For instance, if you are selling a handbag, you can click a picture of someone carrying it and walking through the street. Lifestyle shots give customers better clarity on how to use the product. If you are selling clothes, showcasing models wearing them in real-life scenarios gives customers a better idea of the product’s fitting, size, and feel.
Editing Your WooCommerce Product Photos
Now with the picture ready, let’s see how we can make some finer corrections to make them more professional. While clicking WooCommerce product photos, a powerful editing tool is crucial to transform your photographs from ordinary to appealing. Thanks to multiple online editing tools, photo editing is like a piece of cake. What you pick from the available options is going to depend on the following aspects:
- The level of editing you want to achieve.
- Your technical expertise with the available tools.
- And lastly, budget.
Here are the top picks if you are just starting off and looking for something that is light on your brain and your pocket.
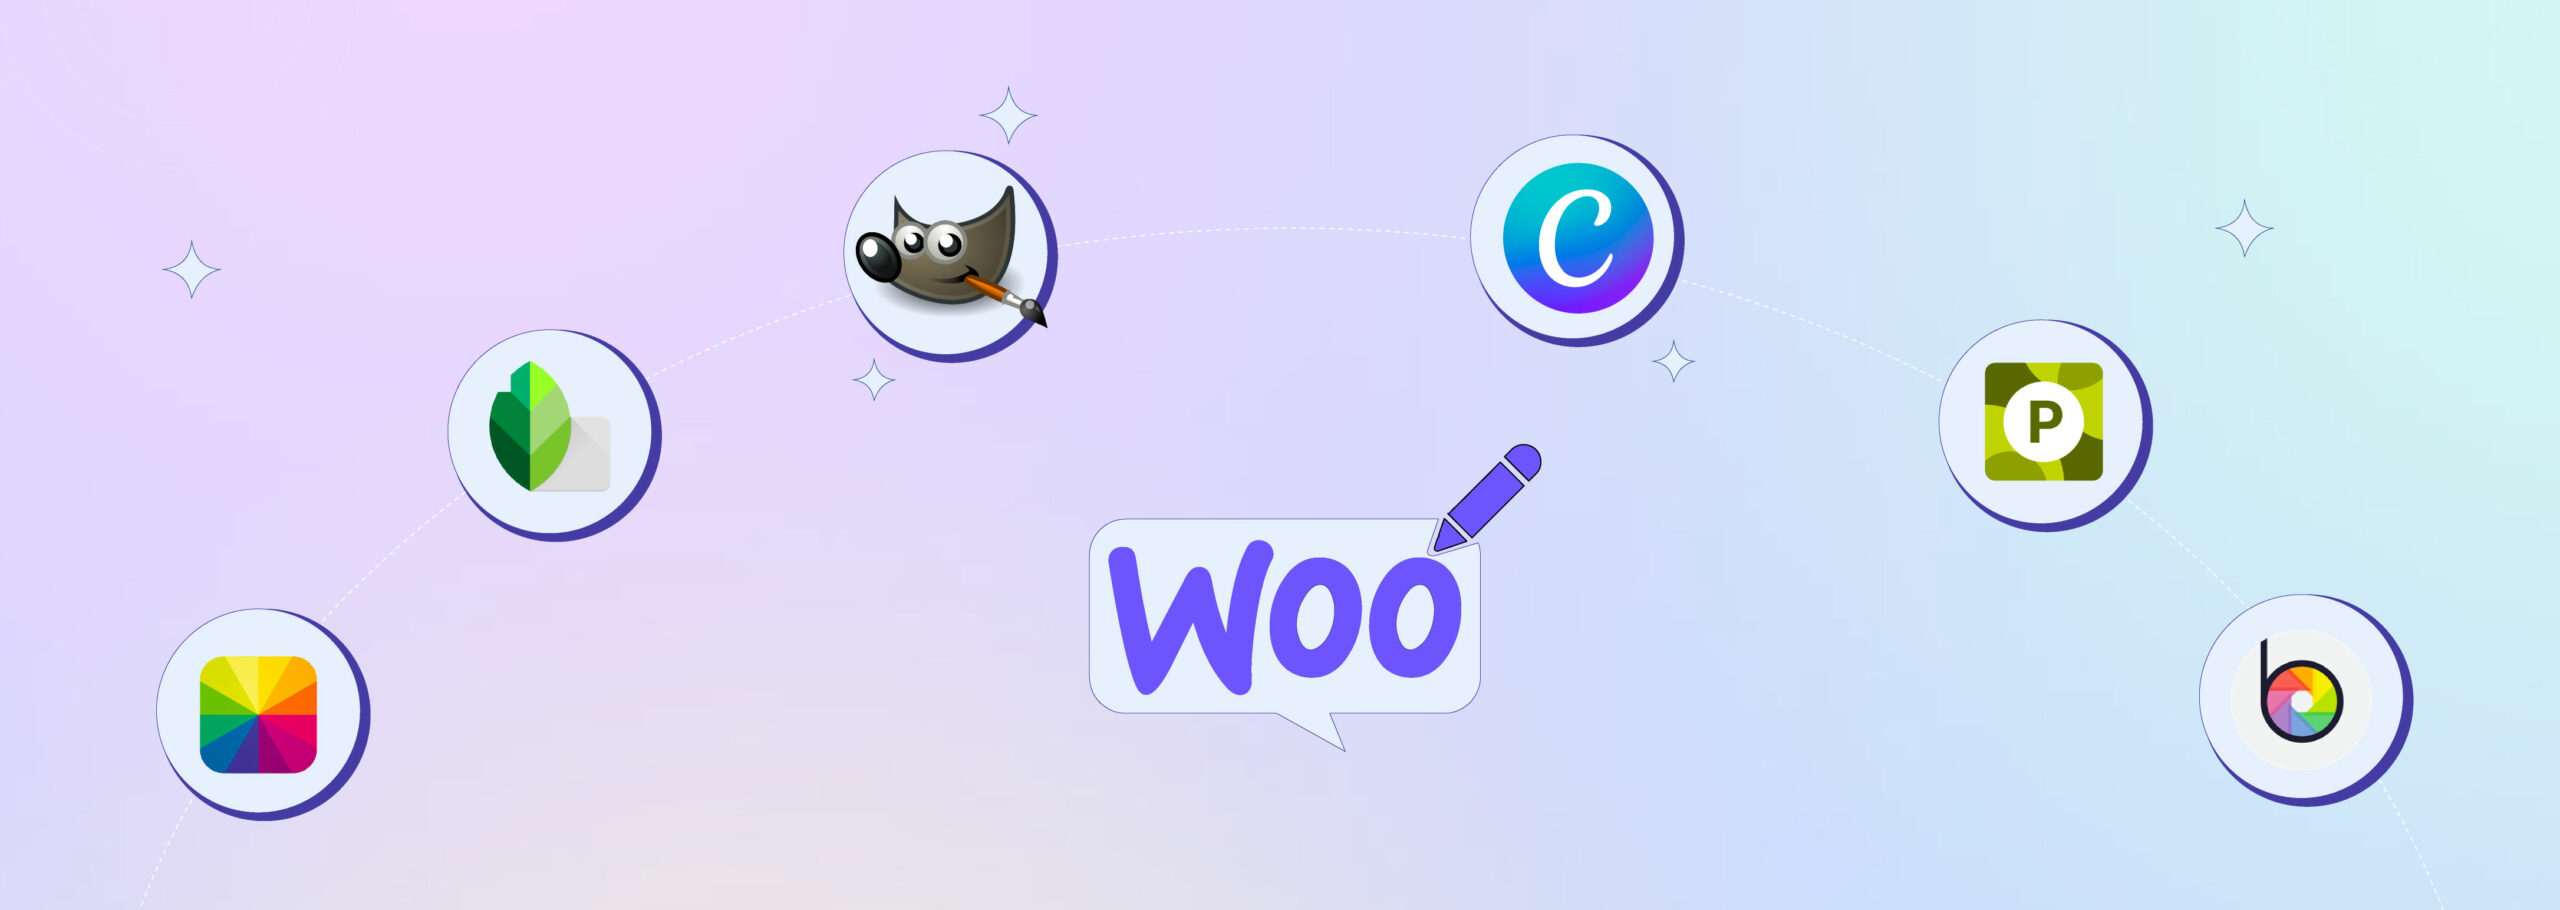
GIMP
This free, open-source editor is considered an alternative to Adobe Photoshop. It is equipped with many features available in the latter and is suitable for amateurs.
Snapseed
This powerful photo editing tool from Google is free and has many features to adjust brightness, contrast, white balance, and other aspects on the fly. Suitable choice for beginners and professionals alike.
Canva
This free online editor has various features, including an AI Photo Editor to add or replace elements and a Magic Eraser to showcase images in the best possible way. It also has multiple default templates for social media promotions and other marketing tactics.
Photomash Studio by Pixlr
Clothing, footwear, or food photography, whatever your requirement is, Photomash Studio has plenty of attractive features tailor-made to satiate every e-commerce owner’s demands.
BeFunky
Intuitive, AI-powered, and rich in features, this free online editor is a perfect tool for product photography. It comes with options to selectively remove or add the background of your choice. The AI Image Enhancer automatically detects flaws in your product photo and corrects it in a few clicks. There are additional editing options as well which lets you further enhance your product.
Fotor
Yet another AI-driven editor with an array of features like background remover, AI tool to remove unwanted objects, and other photo-enhancing techniques to elevate your product images.
If you are not on a budget but want a tool that demands less technical expertise than Photoshop, then Adobe Lightroom is your answer. It has many presets(saved photo editing settings) for product photography. You can highlight the product’s texture, make them appear brighter, remove unwanted shadows and patterns, remove shine, and perform multiple other custom edits designed explicitly for product enhancement. There is a 7-day free trial, after which you will be charged 9.68$ per month.
How to Optimise Your WooCommerce Product Photos?
Now comes the last (definitely not the least!) and probably the most essential step – image optimisation. What does this mean, and how significant is it in improving traffic to your store? Let’s find out!
We all have encountered images that take forever to load, and when they finally do, they might be incompatible with the viewing device. Sounds like a perfect recipe for frustration? Then imagine the customers’ plight when your product page doesn’t load properly. This can eventually result in customers abandoning your site. Hence, it goes without saying that if you want your images to have the desired impact on your customers, it needs to load instantly. This is where image optimisation steps in! The basic idea behind image optimisation is to tweak certain aspects of an image for faster loading and better compatibility with all devices without compromising the image quality. It also ensures your image is SEO optimised or, in other words, ranks at the top on all search engines. Before we find out how to optimise images, let’s look at the WooCommerce product image guidelines.
“The ideal image size for your WooCommerce store depends on your chosen theme, store user interface, and product type. 800*800 px is usually considered appropriate. To allow your product to be zoomed, you should increase the size of your image to 1000*1000px or even more to 2000px to showcase finer details and textures.”
The general rule of thumb, however, is to refrain from uploading large images to ensure faster website loading. You should aim for an image size that doesn’t slow down your website but simultaneously captures the product with clarity.
Let’s look at the steps involved in optimising your WooCommerce product photos:
Choose Proper Image Format
The first step to image optimisation is converting your image to the correct format. The most widely preferred format for product photos is JPEG. It provides good image quality without increasing the file size. There is also a relatively newer image format called WebP. WebP images are around 30% smaller than JPEG images. They are optimised for the web and load faster. There are WordPress plugins to convert images to WebP format.
Add Relevant Alt Text to Your Images
The alt attribute is the alternative text that is displayed on the screen when your image doesn’t render. Adding simple but relevant keywords to the alt attribute will ensure your photos rank higher in search engines and appear in Google image searches. Make sure your alt attribute describes your image clearly without being too elaborate.
Resize Your Image
High-resolution images take a long time to load, and resizing them to fit the specifications of your website is essential. You can resize your image in WooCommerce or use any editing software mentioned above.
Compress Your Image
The time taken to load an image is proportional to its file size. The file size is the space your image will occupy in the browser. So it’s always ideal to go for smaller file sizes. Image compression refers to reducing the file size of your image. Image compression can be lossless or lossy. Lossless compression involves a small-scale reduction of image size without compromising its quality. Lossy compression involves a large-scale image size reduction, often compromising its quality. WordPress has plenty of plugins for image compression, like Ewww Optimiser, Smush, etc.
Set up a CDN
Content Delivery Network (CDN) refers to a network of servers distributed globally. Traditionally, all files of a particular website are stored on the website’s server. So when a customer who is geographically far from your server clicks on your website, it takes longer to load. CDN bypasses this requirement by storing cached copies of your website in servers distributed across the globe. So now, when customers request data from your website, it loads from the server closest to them, ensuring faster website loading. Hosting plans of many web hosting providers include CDN. Some companies like ImageKit even have dedicated CDN for images. Images CDN is a regular CDN with added functionality to optimise and transform images in real-time. Images CDNs automatically converts images to the desired format. It performs controlled compression and transforms images real-time so as to fit the viewing device.
Lazy Load Images
Normally, when you open a webpage, all images in the webpage load simultaneously. This can reduce the speed of your website, especially when there are too many images. Lazy loading is a technique that delays the loading of images currently not viewed by the user. There are several techniques to lazy load photos, but one of the easiest ways of doing it is by using native lazy loading. This is done by adding loading=”lazy” HTML loading attribute to <img> tag.
<img width=”324″ height=”324″ loading=”lazy” alt=” ….” />
But certain browsers don’t support native lazy loading.
However, manually managing all these steps can be time-consuming and sometimes frustrating. After spending hours setting up your product, clicking pictures, and editing them, even the idea of another lengthy task might be daunting. Well, the good news is WordPress has got you covered! Plenty of plugins are available to optimise your WooCommerce product photos making your task easier.
Image Optimisation Plugins

- Reduce image file size without compromising quality
- Access to dedicated CDN
- Access to lazy loading
- Dynamic cropping that resizes images based on the customer’s screen size and resolution
- Lossless and lossy compression
- Image size detector that points out unoptimised images
- Image resizing
- Lazy loading
- Lazy loading functionality
- Access to CDN
- Adaptive Images functionality – resizes images to fit the customer’s device.
Images SEO
- Automatically optimises images for SEO by writing alt text for images using AI.
Wrapping Up…
Assuming you now have a basic idea about how to upload flawless product photos for your WooCommerce store, a few words before winding up. Use your WooCommerce photos to create a brand identity that exudes trust, uniqueness, and transparency. It will take a lot of trial and error before you can find out what works for you. So, experiment with different colour palettes, backgrounds, lighting, and photo angles to find one that resonates best with your brand’s values.


 THANK YOU!