 Getting Started
 For Developers
 Compatible Plugin & Themes
Apart from the features of general and advanced settings, the plugin provides some other career page customization options.
To add new features and customize the job post details:
Navigate to Job Listings > Settings > Job Details.
JOB FEATURES
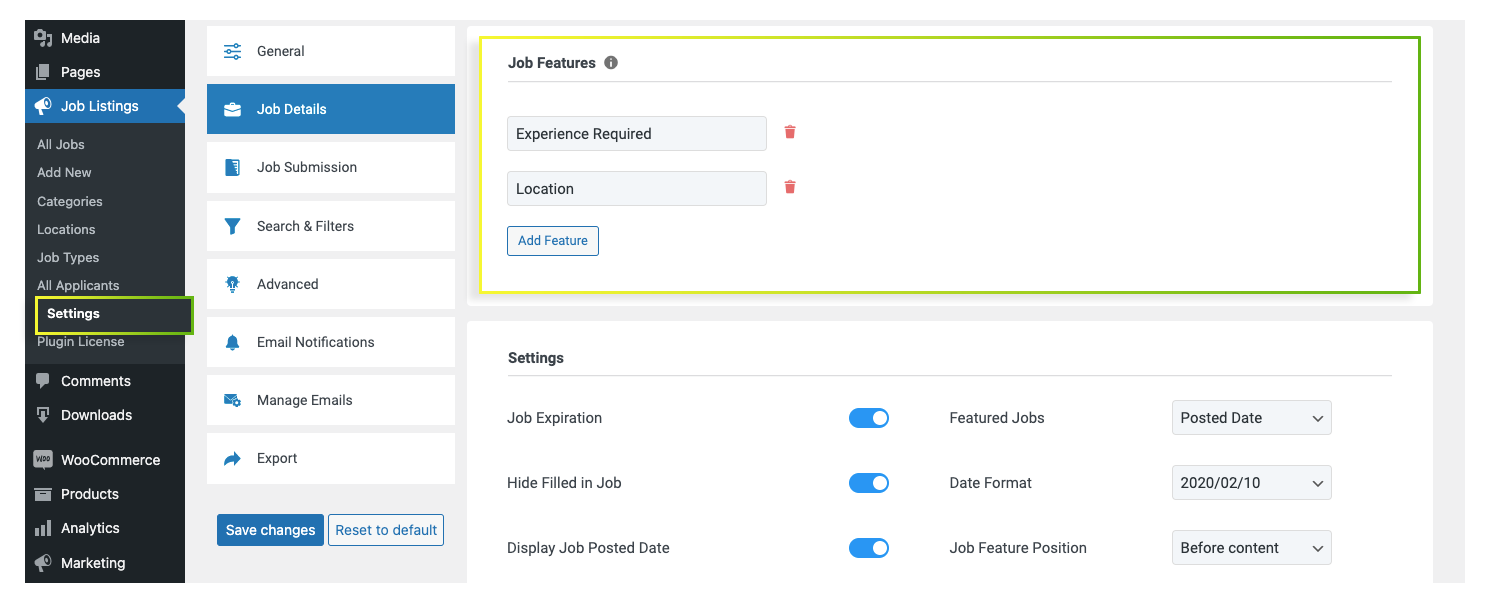
- It helps you to add or delete the job features. By clicking on the Add Feature button, you can add more features related to the job post. These additional features will be added to the entire job posts.
SETTINGS
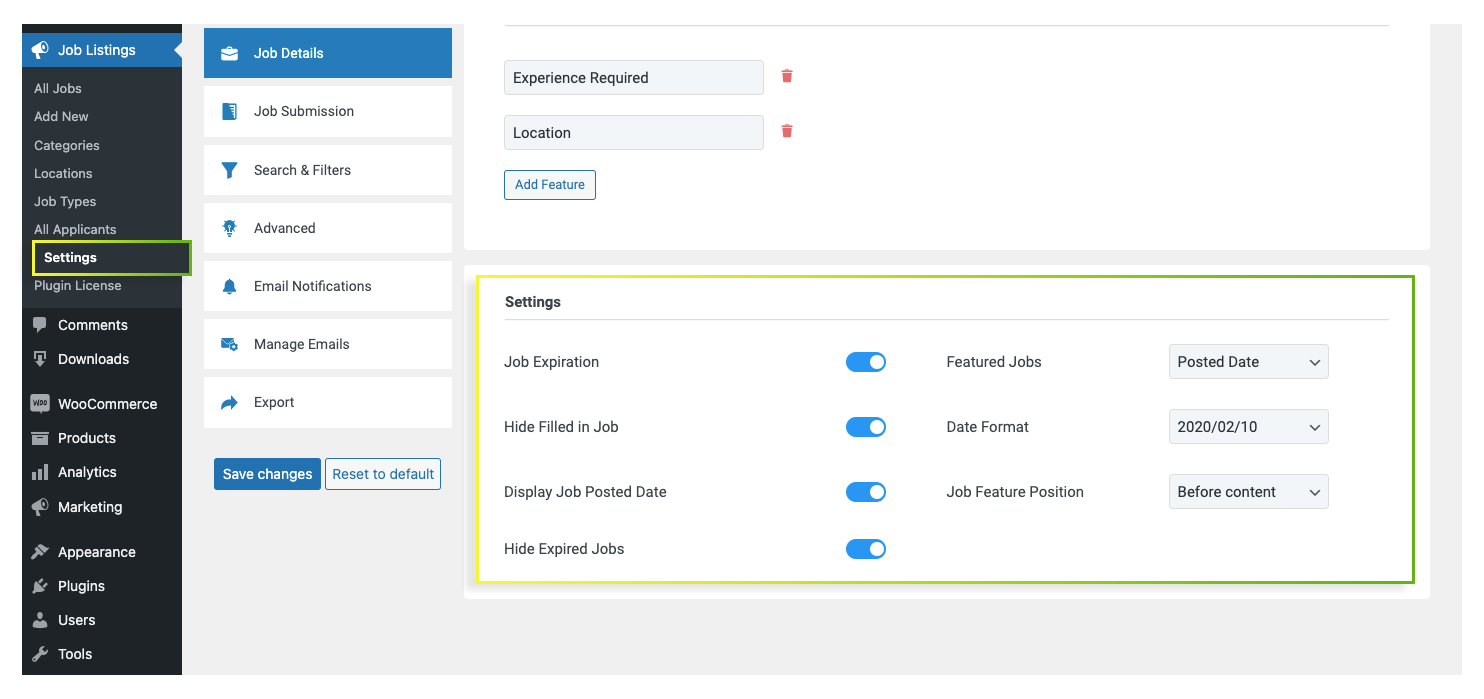
- Job Expiration: From this field, you can show or hide the expired jobs.
- Hide Expired Jobs: Enable or disable the corresponding option show/hide them.
- Hide Filled in Job: From this field, you can show or hide the filled jobs.
- Featured Jobs: This option allows you to decide the display position of the featured jobs.
- Display Job Posted Date: You can display the job posted date on the career page.
- Date Format: The plugin provides different date formats. You can choose any of them from the Date Format dropdown.
At last click on the Save changes button to update the changes made.
To manage the Apply Now form:
Go to Job Listings > Settings > Job Submission.
FORM TO ACCEPT USER APPLICATIONS
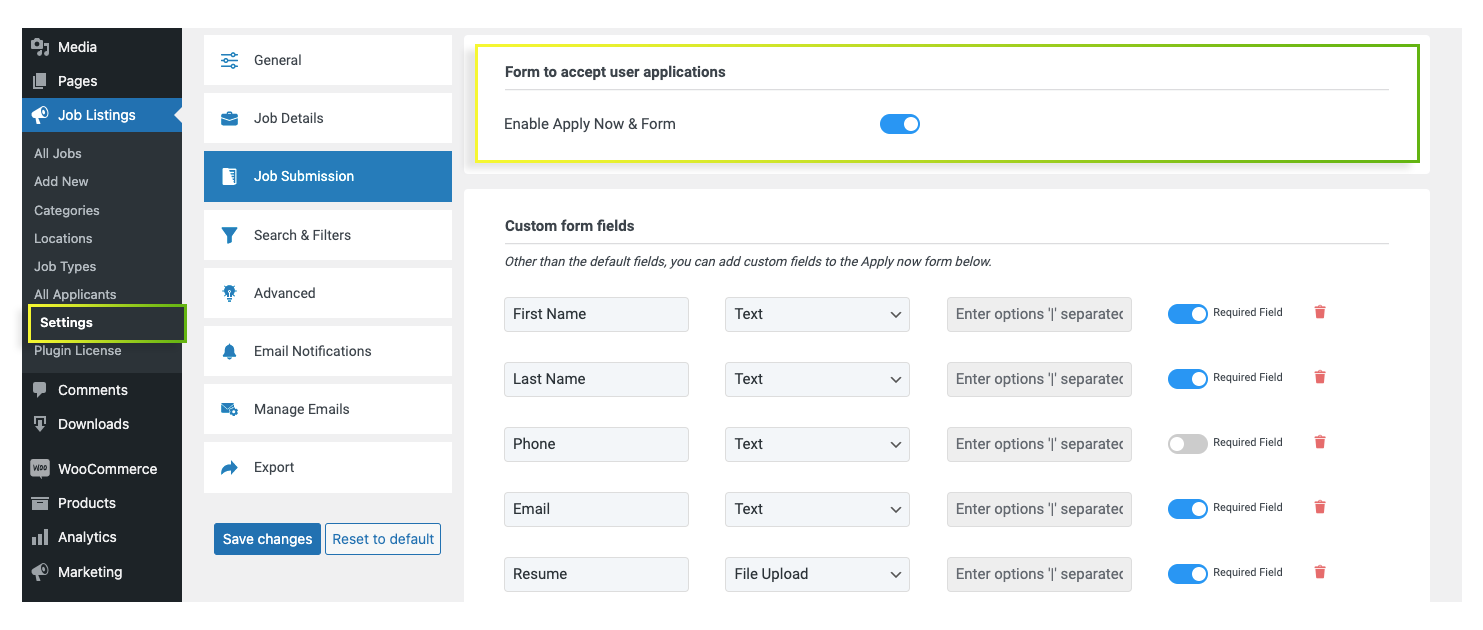
- By enabling the Enable Apply Now & Form, you can provide the apply now form to the applicants.
- So that you can collect the required details of the applicant.
CUSTOM FORM FIELDS
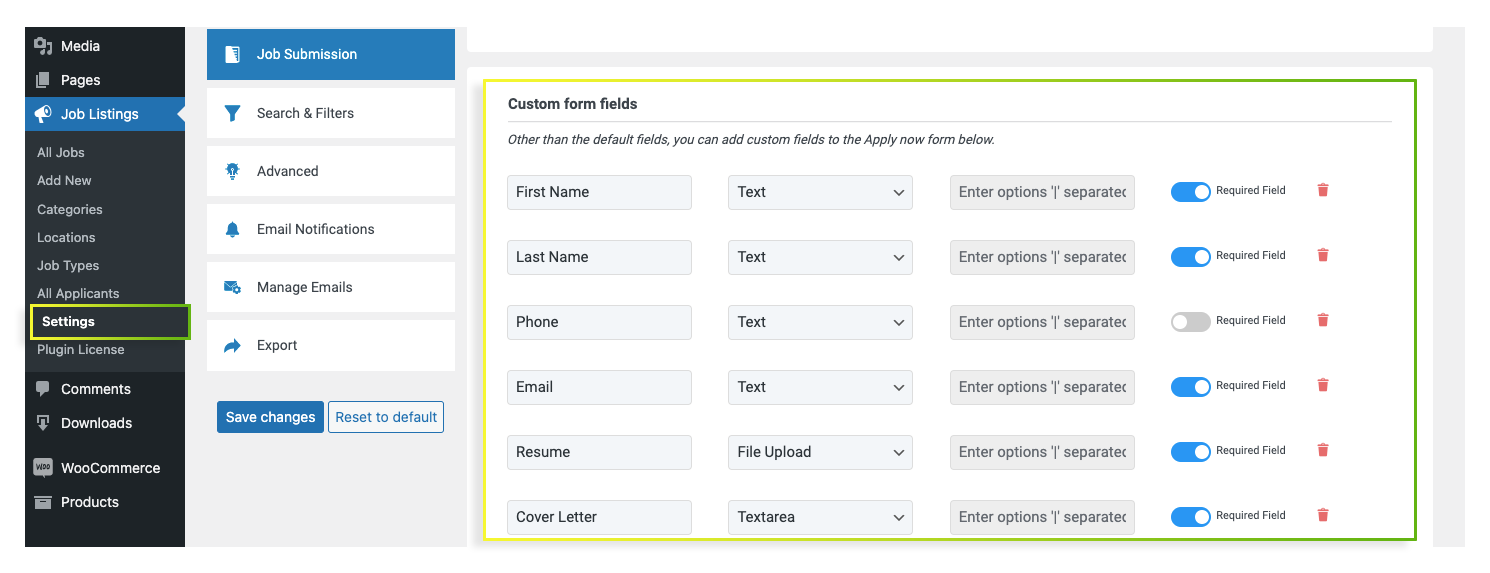
- It allows the admin to add more fields in the apply now form.
- By selecting the Add New Field button, you can define the field display name, field type, and enter the options.
- Also, this additional field can be marked as a required field by enabling the Required Field option.
- The plugin offers 7 different field types. You can choose anyone among the list.
- These additional fields will be added to the entire job posts.
If the field is not needed, then click on the delete icon and remove the additional field that you created.
DISPLAY MESSAGE
Enter the message to be displayed on the career page in the corresponding textbox of Message Text.

Finally, click on the Save changes button to save all the changes made.
To manage the search & filter option:
Go to Job Listings > Settings > Search & Filters.
As discussed, the applicants can search or filter the job post based on some factors like keyword, location, etc. This Search & Filters option allows the admin to manage these filters.
SEARCH FORM
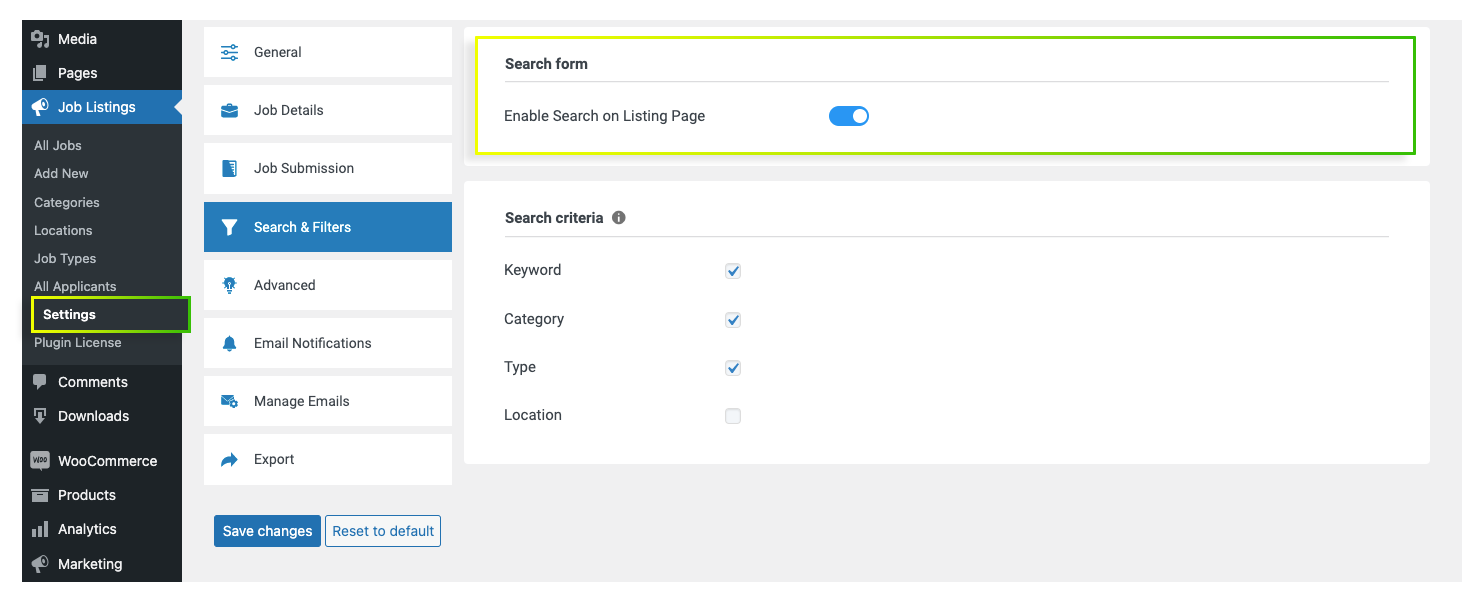
- By enabling the Enable Search on Listing Page option, you can add the search box on your career page.
- So that the applicants can easily search and find a specific job post.
SEARCH CRITERIA
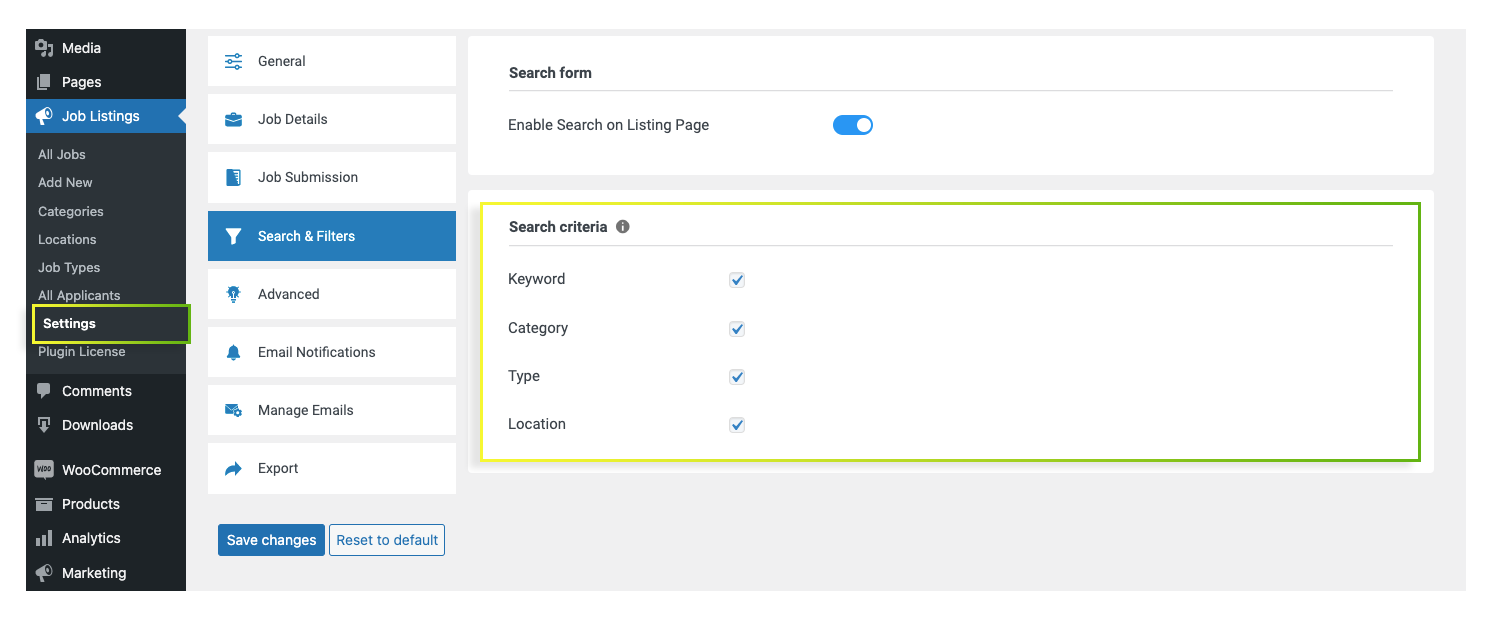
- The search criteria field allows the admin to manage the filter options.
- This WordPress job board plugin provides the option to filter out the job posts based on the keyword, category, job type, and location.
- You can add any of the filter options by selecting the corresponding checkbox. If you unselect them, then it will be removed from the filters.
Once completed the search and filter field, click on the Save changes to update the changes that you have made.
View on widgets:
The plugin lets you show the job posts on your website. Also, the position of these job posts in the widget section can be managed using the drag and drop method. Go to Appearance > Widgets.
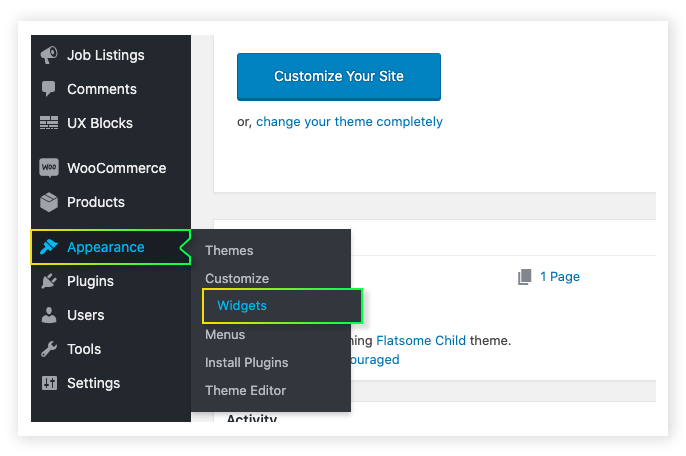
- There you will find a Job Listing widget.
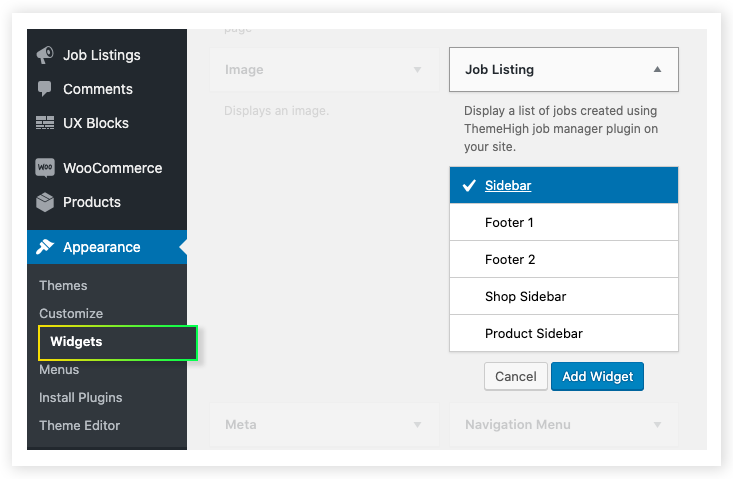
- Click on the widget and enter the title, subtitle, and post count in the corresponding text boxes.
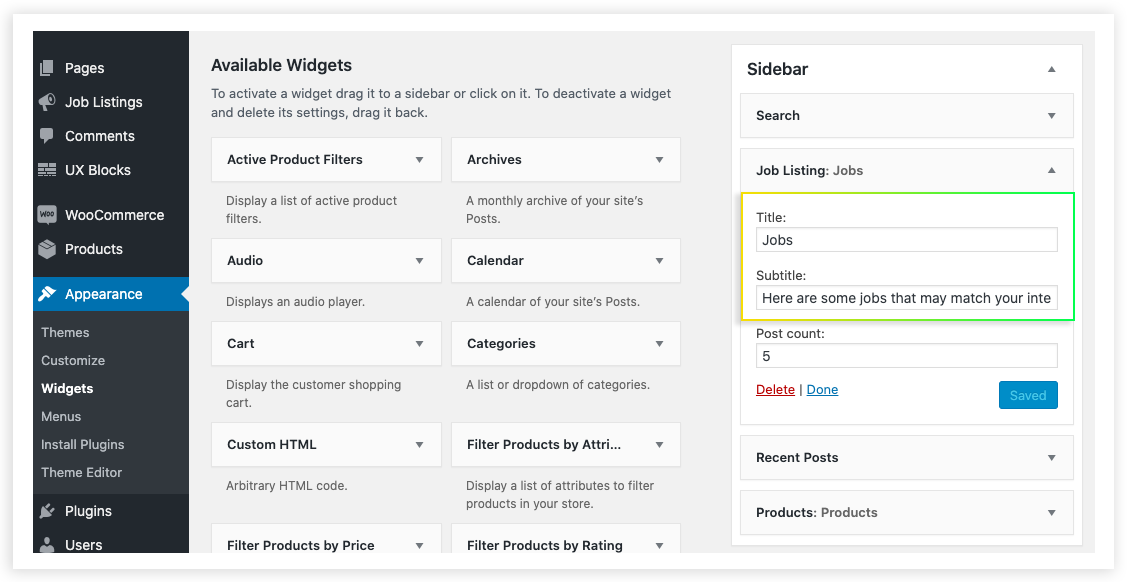
- Once the details are provided, click on the Save button and decide the position of the widget in the sidebar.
- You can align the position of this widget with a simple drag and drop method.